
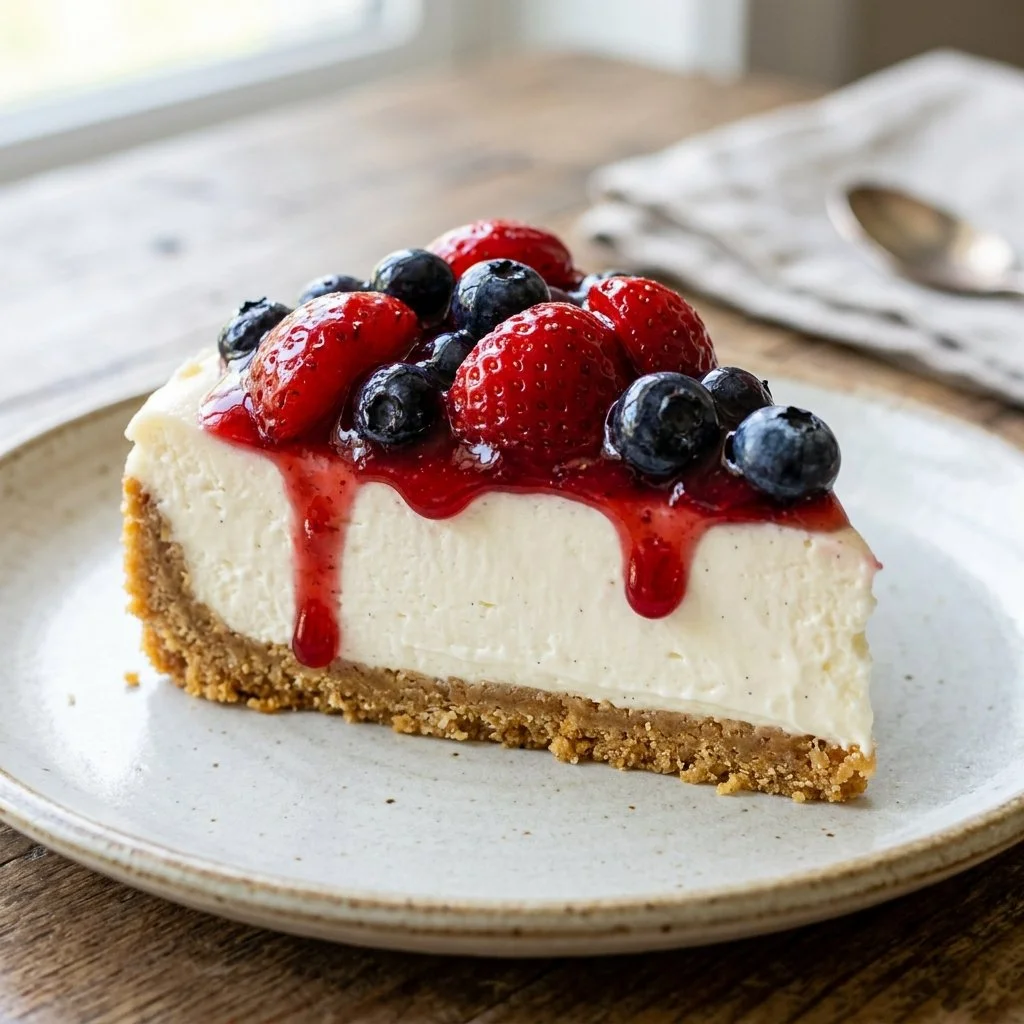
Sometimes, when I think back to my childhood, I’m transported to my grandmother’s warm kitchen, filled with the rich aroma of desserts baking in the oven. However, her crown jewel was always the No Bake Cheesecake—a treat that brought everyone together. The cool, creamy texture topped with sweet fruit or rich chocolate made every family gathering feel special. This nostalgia isn’t just a walk down memory lane; it’s a reminder of how food connects us, weaving stories and flavors into our lives. Let’s explore this delightful No Bake Cheesecake recipe that channels all those warm feelings into your kitchen.
Recipe Timing
- Prep Duration: 15 minutes
- Active Cooking: 15 minutes
- Total Duration: 4 hours 15 minutes (including refrigeration)
- Portion Size: Serves 8
- Complexity: Simple
Nutritional Recipe
- Calories per portion: Approx. 380
- Protein: 5g per serving
- Carbs: 34g per serving
- Fats: 27g per serving
- Fiber: 1g per serving
- Sugars: 19g per serving
- Sodium: 210mg per serving
Why You’ll Love This No Bake Cheesecake
This No Bake Cheesecake is the epitome of simplicity without sacrificing flavor. With a buttery graham cracker crust and silky cream cheese filling, it offers a delightful balance of sweetness and tang. And the best part? There’s no need to fire up the oven! This recipe is perfect for hot summer days or last-minute dessert ideas, ensuring that you’ll have a stunning dish ready in no time.
The Complete Cooking Journey
From the moment you start mixing the crumbly crust to the instant you slice into your perfectly set cheesecake, every step is easy and rewarding. The satisfaction of creating a dessert that looks and tastes extraordinary makes it all worth it. This cheesecake can hold its own during celebrations, making it an ideal centerpiece, but it’s also a comforting treat for a cozy night in.
Ingredients:
- 2 cups graham cracker crumbs
- 1/2 cup sugar
- 1/2 cup unsalted butter, melted
- 2 cups cream cheese, softened
- 1 cup powdered sugar
- 1 teaspoon vanilla extract
- 1 cup heavy whipping cream
Method:
Step 1: Prepare the Crust
In a bowl, combine graham cracker crumbs, sugar, and melted butter. Press the mixture into the bottom of a 9-inch springform pan to create a solid, crumbly crust that will hold your cheesecake together perfectly.
Step 2: Beat the Cream Cheese Mixture
In another bowl, beat the softened cream cheese, powdered sugar, and vanilla extract until glossy and smooth. This step is crucial as it sets the creamy base for your cheesecake.
Step 3: Whip the Heavy Cream
In a separate bowl, whip the heavy cream until stiff peaks form. This is the magic moment where your cheesecake will gain its light, airy texture, elevating it from good to unforgettable.
Step 4: Fold the Mixtures Together
Gently fold the whipped cream into the cream cheese mixture until it is well combined. This technique ensures you maintain the fluffy texture that makes this cheesecake light and delicious.
Step 5: Pour the Filling
Pour the luscious filling over the prepared crust and smooth the top with a spatula. This layer of creamy goodness is what dreams are made of!
Step 6: Chill and Set
Refrigerate for at least 4 hours, or until the cheesecake is completely set. This time allows the flavors to mingle while giving the cheesecake its signature structure.
Step 7: Serve and Enjoy
Once chilled, serve your cheesecake cold, optionally topped with fresh fruit, a drizzle of chocolate sauce, or a sprinkle of nuts. Each bite is a celebration!
Serving Suggestions & Pairings
This cheesecake shines on its own but can be elevated even further. Serve it with a side of fresh berries, a scoop of vanilla ice cream, or a homemade fruit compote for a delightful contrast. For those who enjoy a bit of crunch, consider topping each slice with crushed nuts or cocoa nibs.
Storage & Leftovers Guide
Store leftover cheesecake in the refrigerator, tightly covered, for up to 5 days. If you’re fortunate enough to have leftovers (which is rare!), you can slice them for delightful grab-and-go treats!
Kitchen Wisdom & Success Tips
- Ensure your cream cheese is at room temperature for easier mixing.
- Don’t skip chilling the cheesecake; it’s essential for the best texture.
- Experiment with flavored extracts such as almond or lemon for unique twists!
- If you love a chocolaty flavor, consider using chocolate graham crackers for the crust.
Flavor Variations & Adaptations
Feel free to customize your cheesecake! Add a layer of chocolate ganache, swirl in some fruit preserves, or mix in finely chopped nuts to the filling. You can also substitute the vanilla extract with other flavor profiles, like almond or lemon, for a fun twist.
Reader Questions & Solutions
- Can I use a different type of crust? Absolutely! Oreo cookies or even crushed nuts can work wonderfully as an alternative.
- What if I don’t have heavy cream? You can use whipped topping, but keep in mind it may alter the flavor slightly.
- How do I avoid cracks on my cheesecake? Chilling it properly helps prevent cracks along with avoiding overmixing the filling.
- Can I prepare this cheesecake in advance? Yes! It can be made a day or two ahead, making it perfect for parties or gatherings.
- What can I do if the filling is too runny? Whipping the cream longer can help thicken the filling; aim for stiff peaks.
Wrapping Up
Creating this No Bake Cheesecake is not just about making a dessert; it’s about crafting memories. The tranquility of preparing this layered delight will connect you with the essence of culinary bliss. So grab your ingredients and let this cheesecake bring a taste of nostalgia to your table, inspiring laughter and conversation with every delightful slice!


