
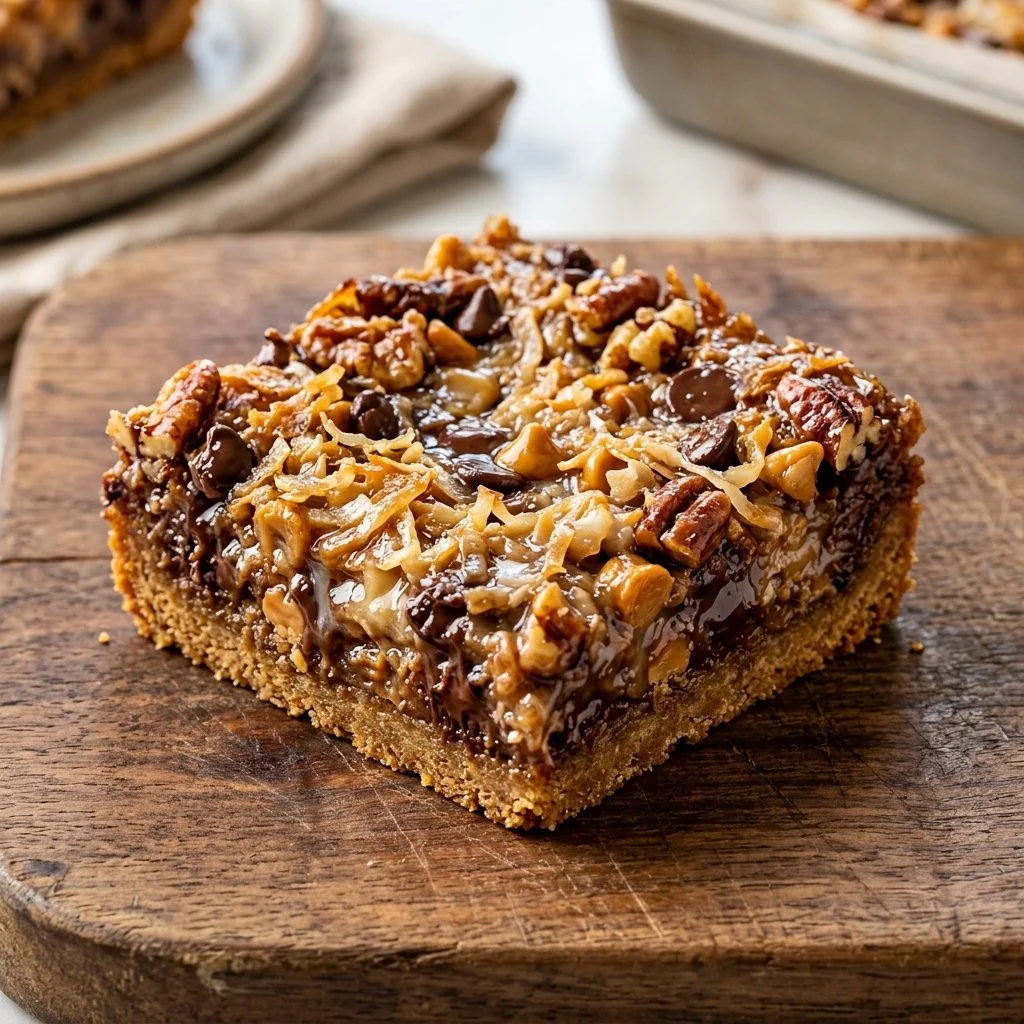
There’s something magical about the aroma wafting through the kitchen when a batch of Magic Cookie Bars is baking in the oven. It takes me back to my childhood, where afternoons were spent hustling in and out of my grandmother’s kitchen, each recipe having the power to spark joy and gather us around the table. These bars, with their layers of sweetness and crunch, hold that same power today, making them the perfect treat for any occasion. Whether it’s a family gathering, a potluck, or just when you need a pick-me-up after a long day, these Cookie Bars share love and satisfaction in every bite.
## Recipe Timing
- Prep Duration: 10 minutes
- Active Cooking: 30 minutes
- Total Duration: 40 minutes
- Portion Size: 12 bars
- Complexity: Simple
## Nutritional Recipe
- Calories per portion: Approximately 220
- Protein: 2g per serving
- Carbs: 29g per serving
- Fats: 11g per serving
- Fiber: 1g per serving
- Sugars: 16g per serving
- Sodium: 120mg per serving
## Why You’ll Love This Magic Cookie Bars
Magic Cookie Bars are the embodiment of simplicity and indulgence. With just a handful of ingredients and minimal effort, you can create a decadent dessert that dazzles the taste buds. The combination of the creamy sweetened condensed milk with chocolate chips, crunchy nuts, and toasted coconut creates an irresistible blend of textures and flavors. Plus, they’re perfect for sharing—everyone will want to snag a piece!
## The Complete Cooking Journey
Let’s guide you through the delightful process of creating these Magic Cookie Bars—from mixing the base to indulging in the final result. Each step is quick and straightforward, making it an enjoyable experience that even novice bakers can tackle with confidence.
## Ingredients:
- 1 cup graham cracker crumbs
- 1/2 cup unsalted butter, melted
- 1 cup sweetened condensed milk
- 1 cup semi-sweet chocolate chips
- 1 cup shredded coconut
- 1 cup chopped nuts (walnuts or pecans)
## Method:
### Step 1: Preheat the Oven
Preheat your oven to 350°F (175°C). This step makes sure your bars start cooking at just the right temperature for that perfect golden finish.
### Step 2: Prepare the Base Mixture
In a mixing bowl, combine the graham cracker crumbs and melted butter until everything is mixed well. This creates a crumbly yet cohesive mixture that will form the bottom layer. Once combined, press this mixture into the bottom of a 9×13 inch baking pan, ensuring an even layer.
### Step 3: Layer on the Sweetness
Now it’s time to pour the sweetened condensed milk evenly over your crust. This will be the glue that holds the bars together, providing luscious sweetness.
### Step 4: Add Delicious Toppings
Sprinkle the chocolate chips, shredded coconut, and chopped nuts generously over the condensed milk layer. Each bite should be a delightful surprise, with a little crunch from the nuts and a burst of sweetness from the chocolate.
### Step 5: Bake to Perfection
Bake for 25-30 minutes or until the edges are golden brown. You’ll know they’re done when your kitchen fills with an irresistible aroma that beckons you closer.
### Step 6: Cool and Cut
Allow the bars to cool completely in the pan. Once cooled, cut them into squares. Patience is essential here; letting them cool helps set all those delicious layers together perfectly.
## Serving Suggestions & Pairings
These Magic Cookie Bars are delightful on their own, but I love serving them with a scoop of vanilla ice cream or a dollop of whipped cream. For a special touch, you could drizzle a little chocolate or caramel sauce over the top. They are also a phenomenal pairing with a robust cup of coffee or a chilled glass of milk.
## Storage & Leftovers Guide
Store any leftover Magic Cookie Bars in an airtight container at room temperature for up to a week. If you’d like them to last longer, you can refrigerate them for up to two weeks. For even longer storage, consider freezing them for up to three months. Just cut into bars, wrap them tightly in plastic wrap, and then store in a freezer bag.
## Kitchen Wisdom & Success Tips
- Make sure to press the graham cracker layer firmly into the pan; this helps keep the bars from crumbling.
- Feel free to customize the nuts and chips! Almonds and white chocolate, or any nut and baking chip combination you love, can work beautifully.
- For an added depth of flavor, consider toasting your nuts slightly before adding them to the mixture.
## Flavor Variations & Adaptations
Why not get creative with your Magic Cookie Bars? Try adding dried fruits like cranberries or apricots for some chewiness, or swap the graham cracker base with crushed chocolate cookies for an even richer taste. Vegan condensed milk alternatives and dairy-free chocolate chips work great for a plant-based variation.
## Reader Questions & Solutions
-
Can I use a different nut?
Absolutely! Feel free to use any nut you prefer or have on hand. Almonds, pecans, or even sunflower seeds can be delicious! -
What if I don’t have sweetened condensed milk?
You can make a homemade version by simmering milk and sugar together until thickened, or use coconut cream mixed with sugar for a dairy-free alternative. -
How do I know when the bars are done?
Look for a golden brown edge and a slightly set center. If you slightly shake the pan, it should jiggle a little but not be liquidy. -
Can these bars be made gluten-free?
Yes! Just substitute the graham crackers with gluten-free crumbs, and you’re good to go. -
What’s the best way to cut these bars without crumbling?
Use a sharp, non-serrated knife and warm it under hot water before cutting. This helps make clean cuts without squishing the bars.
## Wrapping Up
Magic Cookie Bars are a heartfelt reminder of simple pleasures and great flavors that can bring us all together. With their delightful layers and minimal prep time, they’re a treat anyone can whip up quickly—perfect for sharing or simply indulging in during quiet moments of relaxation. So grab your apron, gather your ingredients, and let the baking magic begin! You’ll not only create a delicious dessert, but you may also spark joy and nostalgia along the way—just like I did when I first learned how to make them. Happy baking!


