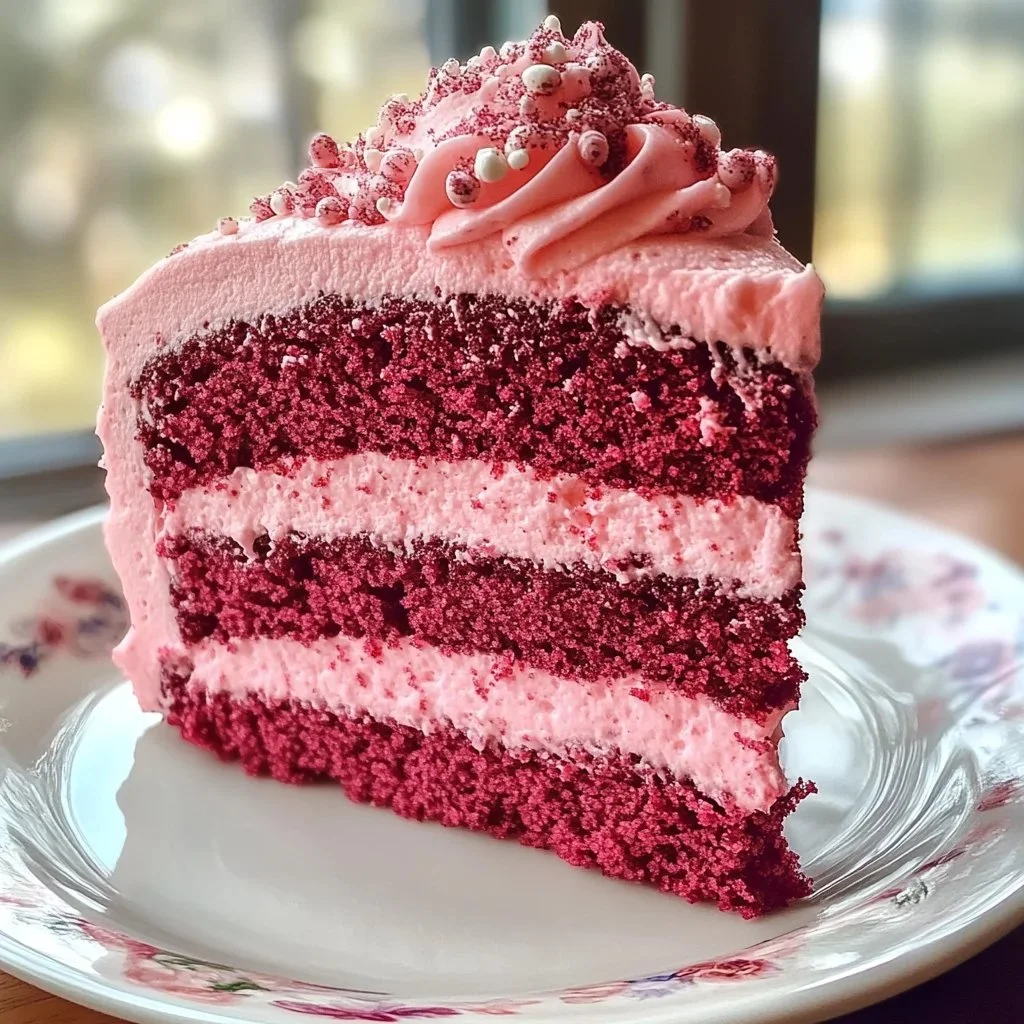
Valentine’s Day always brings a whirl of affection, warmth, and, of course, delicious treats to share with loved ones. In our home, it’s not just Valentine’s Day; it’s a celebration of love expressed through food. This year, I found myself creating The Valentine’s Day Cake, a luscious chocolate cake adorned with delightful sprinkles, which has turned into a cherished tradition. Each layer is a canvas for sweet memories, and as I baked, I couldn’t help but reminisce about the laughter and joy that cake has brought into our lives over the years. Baking this cake means much more than simply pulling together a recipe. It’s about nurturing connections and savoring shared moments. So, whether you’re crafting it for a special someone or indulging with family, this cake promises to make your heart—and your taste buds—flutter.
Recipe Timing
- Prep Duration: 20 minutes
- Active Cooking: 30 minutes
- Total Duration: 1 hour
- Portion Size: 12 servings
- Complexity: Simple
Nutritional Recipe
- Calories per portion: Approximately 410
- Protein: 4g per serving
- Carbs: 55g per serving
- Fats: 20g per serving
- Fiber: 2g per serving
- Sugars: 34g per serving
- Sodium: 130mg per serving
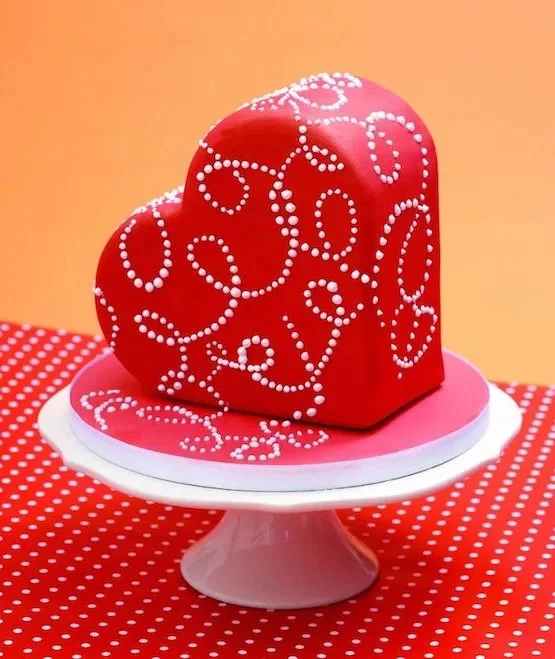
Why You’ll Love This The Valentine’s Day Cake
The Valentine’s Day Cake captures the essence of love in every bite. It’s rich yet light, with a tender crumb that sings of chocolatey goodness. Each glossy layer of frosting complements the versatility of the cake, making it a delightful centerpiece for your Valentine’s celebration. The heart-shaped sprinkles add a playful charm, while the baking process lets your home fill with a comforting aroma that tantalizes the senses. Best of all, it’s simple enough to whip up even on a busy day, making it the perfect treat for anyone wanting to express love through their culinary skills.
The Complete Cooking Journey
Embarking on this baking journey begins with gathering your ingredients and prepping your pans. The simple act of mixing flour, sugar, cocoa powder, and the other essentials unfolds as you create a magical chocolate batter that’s full of potential. The delightful process of filling your cake pans and watching them rise in the oven is immensely rewarding. Once they’re cool, it’s time to whip up a luscious frosting and artfully layer the cake, transforming it into a beautiful declaration of your affection.
Ingredients
- 2 cups all-purpose flour
- 1 cup sugar
- 1/2 cup unsweetened cocoa powder
- 1 cup milk
- 1/2 cup vegetable oil
- 3 large eggs
- 1 teaspoon vanilla extract
- 1 teaspoon baking powder
- 1/2 teaspoon salt
- Red food coloring (optional)
- For frosting:
- 1 cup butter, softened
- 4 cups powdered sugar
- 1/4 cup cocoa powder
- 1/4 cup heavy cream
- 1 teaspoon vanilla extract
- Heart-shaped sprinkles, for decoration
Method
Step 1: Preheat and Prepare
Preheat the oven to 350°F (175°C). Grease and flour two 9-inch round cake pans, ensuring the cakes slide out smoothly after baking.
Step 2: Mix Dry Ingredients
In a large bowl, mix the flour, sugar, cocoa powder, baking powder, and salt together, ensuring a well-combined dry mix that serves as the foundation for your cake.
Step 3: Combine Wet Ingredients
In another bowl, combine the milk, vegetable oil, eggs, and vanilla extract. This mixture adds moisture and flavor, essential for a tender crumb.
Step 4: Blend and Color
Gradually add the wet ingredients to the dry ingredients, mixing until the batter is smooth and free of lumps. If desired, add a few drops of red food coloring to make the cake festive for Valentine’s Day.
Step 5: Bake the Cake
Divide the batter evenly between the prepared pans. Bake for 25-30 minutes, or until a toothpick inserted in the center comes out clean.
Step 6: Cooling Time
Let the cakes cool in the pans for 10 minutes before carefully transferring them to a wire rack to cool completely, allowing them to firm up for frosting.
Step 7: Prepare the Frosting
In a mixing bowl, beat the softened butter until it’s creamy. Gradually add in the powdered sugar and cocoa powder, followed by the heavy cream and vanilla extract, mixing until fluffy and well-combined.
Step 8: Frost the Cake
Once the cakes are cool, frost the top of one layer. Place the second layer on top and frost the top and sides of the entire cake, ensuring every inch is covered in delicious chocolate love.
Step 9: Decorate with Love
Finally, sprinkle heart-shaped decorations on top, adding a touch of whimsy and charm that makes your cake perfectly festive.
Serving Suggestions & Pairings
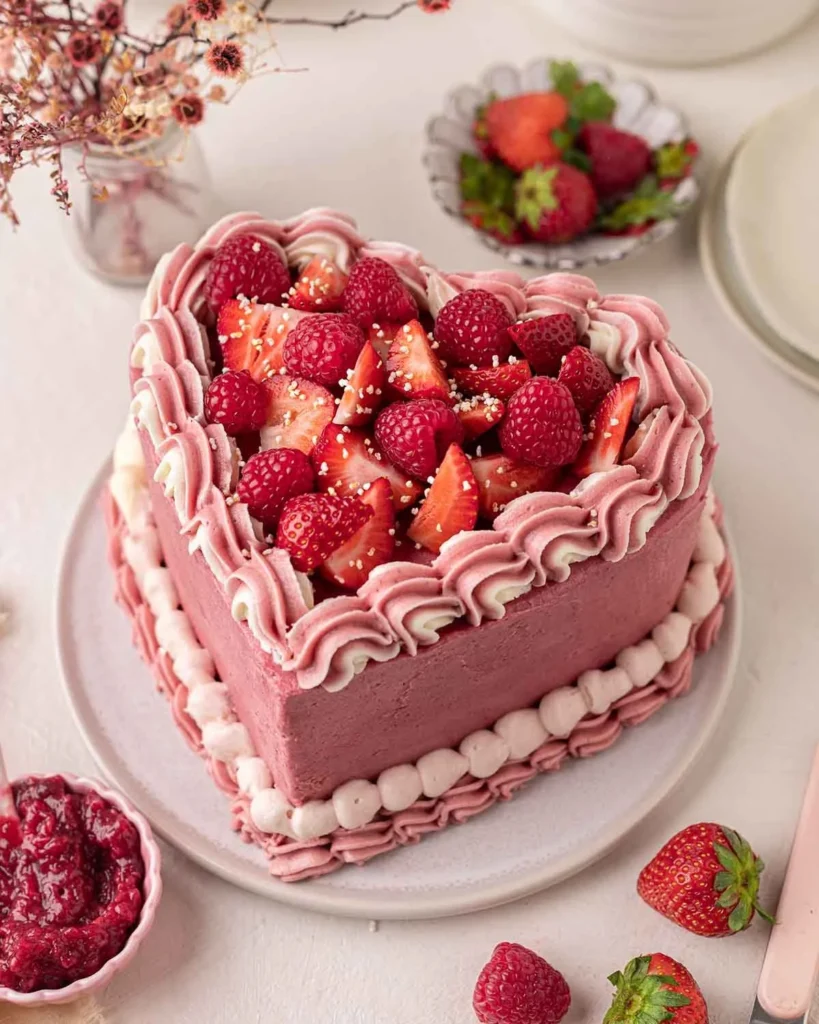
This cake shines on its own, but you can elevate your serving experience with a scoop of vanilla ice cream or a dollop of whipped cream. Consider pairing it with fresh strawberries or raspberries to create a flavor dynamic that beautifully complements the chocolate. Serve it with a glass of cold milk or a sweet cup of coffee for the ultimate dessert experience.
Storage & Leftovers Guide
If you find yourself with leftovers—or if you’re preparing ahead—store the cake in an airtight container at room temperature for up to three days or in the fridge for up to a week. If you want to freeze it, wrap individual slices in plastic wrap and place them in a freezer bag. They’ll last up to three months and can be defrosted at room temperature.
Kitchen Wisdom & Success Tips
- Ensure your butter for frosting is at room temperature for easy blending.
- To make this recipe gluten-free, swap the all-purpose flour for a 1:1 gluten-free flour blend.
- If you want your cake layers to be extra moist, brush them with a simple syrup before frosting.
- Always use a toothpick to check for doneness; even a minute can change everything!
Flavor Variations & Adaptations
Feel free to personalize your cake! Substitute half the cocoa powder with ground espresso for a mocha twist or incorporate a layer of raspberry jam between the cake layers for a delightful fruity surprise. You could even add peppermint extract to the frosting for a refreshing minty flavor.
Reader Questions & Solutions
-
What can I use instead of vegetable oil?
- You can use melted coconut oil, canola oil, or even applesauce for a healthier twist.
-
How do I make my cake less sweet?
- Reduce the amount of sugar in your cake batter by ¼ cup, and balance it out by enhancing the chocolate flavor with a teaspoon of coffee or espresso.
-
Can I make this cake ahead of time?
- Absolutely! You can bake the cakes a day in advance and wrap them tightly. Frost the cake just before serving.
-
What should I do if my cake domed while baking?
- Don’t worry! You can trim the top with a serrated knife to make it level before frosting it.
-
How can I ensure my cake is fluffy?
- Ensure your ingredients are at room temperature and don’t overmix the batter. Gentle folding is key!
Wrapping Up
Baking The Valentine’s Day Cake is like wrapping a gift of love and sweetness for those you care about. The joy of creating and sharing this delightful dessert is unmatched, and it’s sure to make any celebration feel even more special. So gather your ingredients, roll up your sleeves, and don’t forget to savor each moment spent in the kitchen. Happy baking!
PrintThe Valentine’s Day Cake

A luscious chocolate cake adorned with delightful sprinkles, perfect for celebrating love on Valentine’s Day.
- Prep Time: 20 minutes
- Cook Time: 30 minutes
- Total Time: 50 minutes
- Yield: 12 servings 1x
- Category: Dessert
- Method: Baking
- Cuisine: American
- Diet: Vegetarian
Ingredients
- 2 cups all-purpose flour
- 1 cup sugar
- 1/2 cup unsweetened cocoa powder
- 1 cup milk
- 1/2 cup vegetable oil
- 3 large eggs
- 1 teaspoon vanilla extract
- 1 teaspoon baking powder
- 1/2 teaspoon salt
- Red food coloring (optional)
- For frosting:
- 1 cup butter, softened
- 4 cups powdered sugar
- 1/4 cup cocoa powder
- 1/4 cup heavy cream
- 1 teaspoon vanilla extract
- Heart-shaped sprinkles, for decoration
Instructions
- Preheat the oven to 350°F (175°C). Grease and flour two 9-inch round cake pans.
- In a large bowl, mix the flour, sugar, cocoa powder, baking powder, and salt.
- In another bowl, combine the milk, vegetable oil, eggs, and vanilla extract.
- Gradually add the wet ingredients to the dry ingredients, mixing until smooth. Add red food coloring if desired.
- Divide the batter evenly between the prepared pans and bake for 25-30 minutes.
- Let the cakes cool in the pans for 10 minutes before transferring to a wire rack.
- In a mixing bowl, beat the softened butter until creamy, then add powdered sugar and cocoa powder, heavy cream, and vanilla, mixing until fluffy.
- Once the cakes are cool, frost one layer, add the second layer on top, and frost the top and sides of the entire cake.
- Sprinkle heart-shaped decorations on top before serving.
Notes
For extra moisture, brush cake layers with simple syrup before frosting. You can make the cake gluten-free by swapping all-purpose flour for a gluten-free blend.
Nutrition
- Serving Size: 1 serving
- Calories: 410
- Sugar: 34g
- Sodium: 130mg
- Fat: 20g
- Saturated Fat: 10g
- Unsaturated Fat: 8g
- Trans Fat: 0g
- Carbohydrates: 55g
- Fiber: 2g
- Protein: 4g
- Cholesterol: 90mg