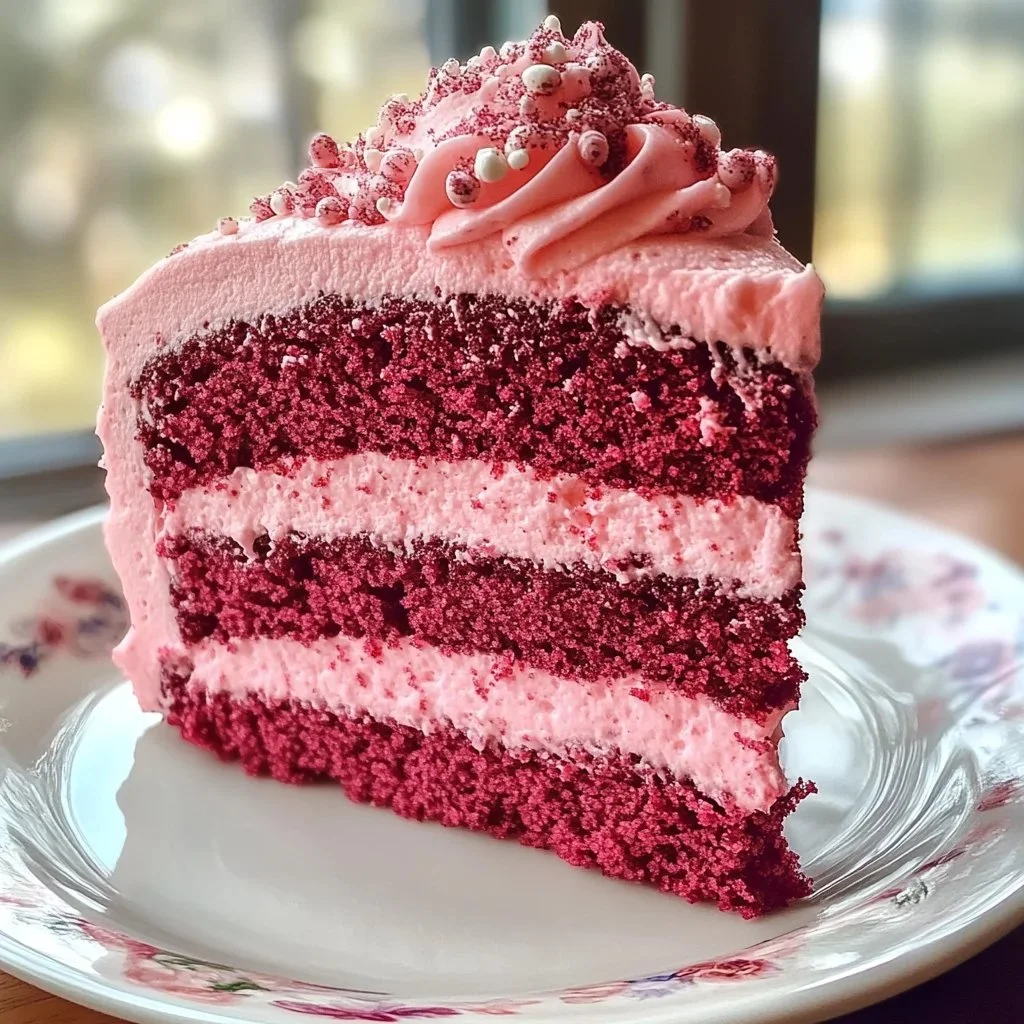
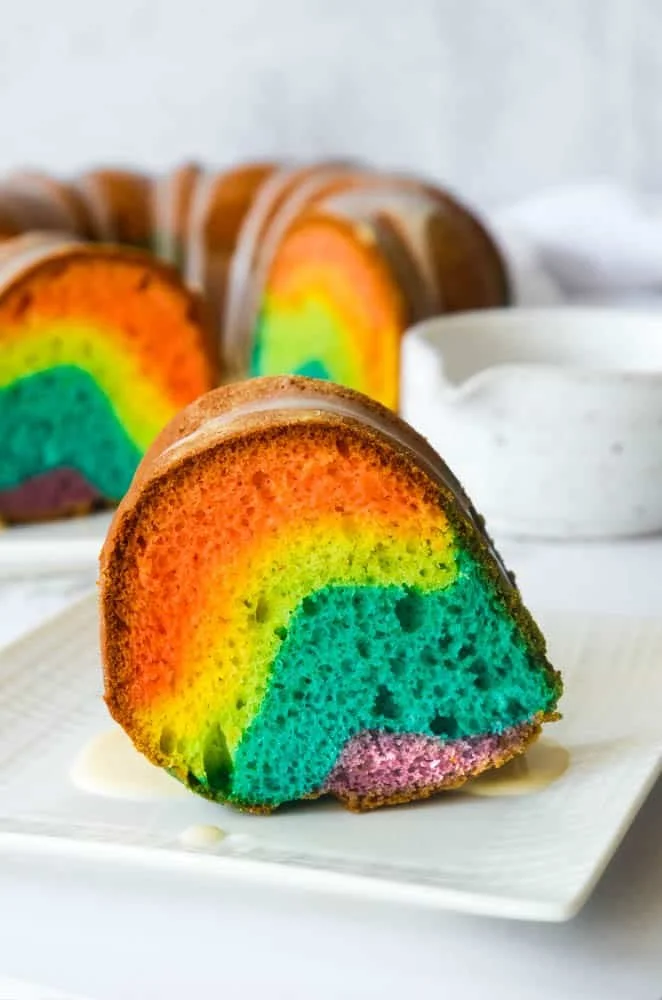
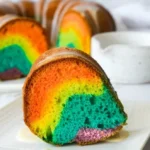
There’s something inherently joyful about baking a cake, especially one that so vividly recalls childhood memories of bright colors and sweet treats. It reminds me of warm afternoons spent in the kitchen with my grandmother, her comforting presence filling the air with laughter and the smell of vanilla. My favorite days were those when she would whip up a batch of her famous Rainbow Bundt Cake—a stunning spectacle that was almost too beautiful to eat. Its vibrant layers hinted at a celebration, making every slice a little slice of happiness. Today, I’m excited to share this delightful recipe, infused with nostalgia, and inspire you to bring a splash of color and cheer into your own kitchen!
Recipe Timing
- Prep Duration: 30 minutes
- Active Cooking: 60 minutes
- Total Duration: 1 hour 30 minutes
- Portion Size: Serves 10-12
- Complexity: Moderate
Nutritional Recipe
- Calories per portion: Approximately 390
- Protein: 4g
- Carbs: 55g
- Fats: 18g
- Fiber: 0g
- Sugars: 34g
- Sodium: 280mg
Why You’ll Love This Rainbow Bundt Cake
This Rainbow Bundt Cake isn’t just a feast for the eyes—it’s a moist, buttery delight that melts in your mouth. The colors create an inviting atmosphere, perfect for birthday parties, family gatherings, or simply a cheerful afternoon treat. Each layer is infused with rich vanilla flavor, making it appealing to both kids and adults. Plus, it’s an excellent way to brighten up any day and bring smiles to those you share it with.
The Complete Cooking Journey
In this culinary adventure, you’ll start with a delicious cake batter that offers a world of color and fun. Each step builds excitement as you create the rainbow—the true magic happens when you layer the colors in the Bundt pan. You’ll feel like a kid again as you swirl the colors together to create stunning effects. Finally, the aroma that fills your kitchen as it bakes will surely draw your loved ones in. Can you hear the excitement?
Ingredients:
- 2 3/4 cups all-purpose flour
- 1 tablespoon baking powder
- 1/2 teaspoon baking soda
- 1/2 teaspoon salt
- 1 cup unsalted butter, softened
- 2 1/4 cups granulated sugar
- 4 large eggs
- 1 tablespoon vanilla extract
- 1 cup buttermilk
- Food coloring (red, orange, yellow, green, blue, purple)
Method:
Step 1: Preheat & Prepare
Preheat your oven to 350°F (175°C) and make sure to grease a Bundt pan generously to prevent sticking.
Step 2: Mix Dry Ingredients
In a bowl, whisk together the flour, baking powder, baking soda, and salt until well combined. This step is crucial for achieving that perfect texture.
Step 3: Cream Butter & Sugar
In a separate bowl, cream the softened butter and sugar together until light and fluffy. This process will create a beautiful contrast in flavors. Add the eggs one at a time, mixing well after each addition. Stir in the vanilla extract next, letting those sweet aromas fill the air.
Step 4: Combine Mixtures
Begin to alternately add the dry flour mixture and buttermilk into the butter mixture. Start and finish with the flour mixture—a little trick to ensure a well-mixed batter!
Step 5: Divide & Tint
Divide the batter evenly into six bowls. Add a few drops of food coloring to each bowl, creating a vibrant spectrum: red, orange, yellow, green, blue, and purple. Have fun with this step; the colors should pop!
Step 6: Layer Batters
Now for the creative part! Layer the colored batters one by one into the prepared Bundt pan. If you want a marbled effect, gently swirl the colors together with a knife, but don’t overdo it—too much swirling will blend the colors instead of highlighting them.
Step 7: Bake
Bake in your preheated oven for 50-60 minutes or until a toothpick inserted into the center comes out clean. The wonderful aroma will tell you it’s almost ready!
Step 8: Cool & Serve
Once baked, allow the cake to cool in the pan for about 10-15 minutes. Then, gently invert it onto a serving plate. It’s time to take a moment and truly admire your creation before cutting into it and sharing with loved ones!
Serving Suggestions & Pairings
Serve this cake as a standalone treat or drizzle with a simple glaze made of powdered sugar and milk for added sweetness. Pair it with vanilla ice cream or a dollop of whipped cream for a delightful dessert experience!
Storage & Leftovers Guide
Store the cake in an airtight container at room temperature for up to 3 days. If you want to keep it longer, wrap it tightly in plastic wrap and refrigerate for up to a week. You can also freeze it for up to three months—just make sure to thaw it overnight in the fridge before serving.
Kitchen Wisdom & Success Tips
- Ensure your butter is at room temperature for easy creaming with the sugar.
- Don’t skip the greasing step on the Bundt pan; it’s your best defense against sticking!
- For a fun twist, you can add a splash of lemon extract to the batter for a zesty flavor.
Flavor Variations & Adaptations
Try incorporating different extracts like almond or coconut to personalize the flavor. You can also replace buttermilk with yogurt for a similar texture or use a gluten-free blend for a gluten-free version.
Reader Questions & Solutions
-
Can I use other colors of food coloring?
Absolutely! Get creative with any food colorings you have on hand. -
What if I don’t have buttermilk?
You can make a substitute by mixing 1 cup of milk with 1 tablespoon of vinegar or lemon juice. Let it sit for about 5 minutes before using. -
Why is my cake tough?
Overmixing can lead to a tougher cake. Mix just until combined, especially during the flour addition. -
How do I know when my cake is fully baked?
Insert a toothpick into the center; it should come out clean or with a few moist crumbs, but not wet batter. -
Can I add sprinkles to the batter?
Yes, colorful sprinkles would add an extra fun touch to your cake!
Wrapping Up
Creating a Rainbow Bundt Cake is more than just baking; it’s about bringing joy, color, and a sense of togetherness into your home. This cake not only tastes amazing but also serves as a canvas for creativity and laughter. So gather your loved ones, unleash your inner child, and whip up this delightful cake that will undoubtedly light up any gathering. Happy baking!
PrintRainbow Bundt Cake
A vibrant and colorful bundt cake that brings joy and nostalgia to any occasion.
- Prep Time: 30 minutes
- Cook Time: 60 minutes
- Total Time: 90 minutes
- Yield: 10-12 servings 1x
- Category: Dessert
- Method: Baking
- Cuisine: American
- Diet: Vegetarian
Ingredients
- 2 3/4 cups all-purpose flour
- 1 tablespoon baking powder
- 1/2 teaspoon baking soda
- 1/2 teaspoon salt
- 1 cup unsalted butter, softened
- 2 1/4 cups granulated sugar
- 4 large eggs
- 1 tablespoon vanilla extract
- 1 cup buttermilk
- Food coloring (red, orange, yellow, green, blue, purple)
Instructions
- Preheat your oven to 350°F (175°C) and grease a Bundt pan.
- In a bowl, whisk together the flour, baking powder, baking soda, and salt.
- Cream the softened butter and sugar together until light and fluffy, then add the eggs one at a time and stir in the vanilla.
- Alternately add the dry flour mixture and buttermilk into the butter mixture.
- Divide the batter into six bowls and tint with food coloring.
- Layer the colored batters into the prepared Bundt pan, swirling gently if desired.
- Bake for 50-60 minutes until a toothpick inserted comes out clean.
- Cool in the pan for 10-15 minutes before inverting onto a serving plate.
Notes
Store the cake in an airtight container for up to 3 days; refrigerate for up to a week or freeze for 3 months.
Nutrition
- Serving Size: 1 slice
- Calories: 390
- Sugar: 34g
- Sodium: 280mg
- Fat: 18g
- Saturated Fat: 11g
- Unsaturated Fat: 7g
- Trans Fat: 0g
- Carbohydrates: 55g
- Fiber: 0g
- Protein: 4g
- Cholesterol: 90mg