When I was a child, the shimmering delights of the fair filled my weekends with joy. The air was thick with the sweet aroma of cotton candy, and as I’d take a bite of that fluffy spun sugar, it felt like a bite of happiness. Inspired by those delightful memories, I decided I needed to create something that could transport anyone who takes a bite back to those carefree days. Thus, the Cotton Candy Cake was born—a whimsical dessert that wraps up the spirit of a carnival in every slice.
Recipe Timing
- Prep Duration: 20 minutes
- Active Cooking: 30 minutes
- Total Duration: 1 hour 30 minutes (including cooling)
- Portion Size: 12 servings
- Complexity: Simple
Nutritional Recipe
- Calories per portion: 350
- Protein: 4g
- Carbs: 54g
- Fats: 15g
- Fiber: 0.5g
- Sugars: 28g
- Sodium: 150mg
Why You’ll Love This Cotton Candy Cake
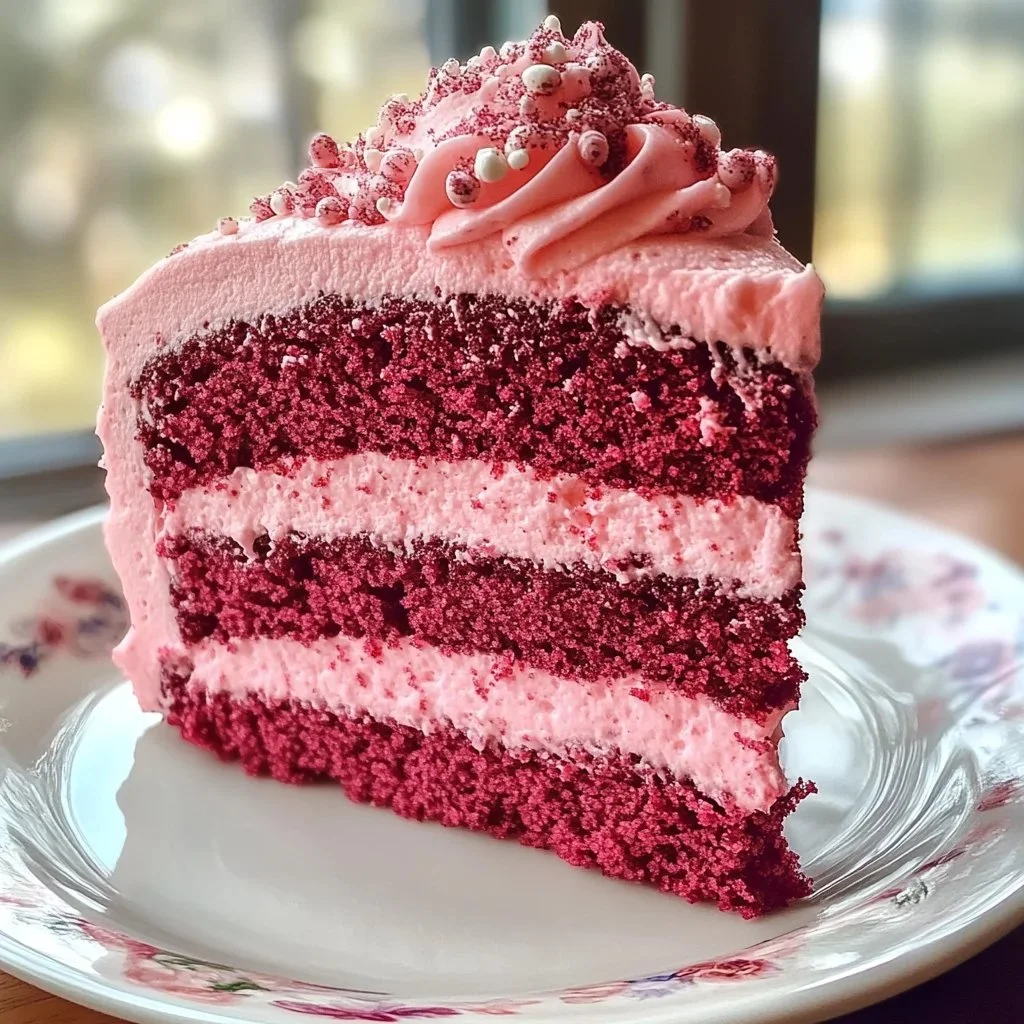
Imagine slicing through a light and flavorful cake that’s as delightful to see as it is to eat. Every bite offers a burst of sweetness that dances on your palate, reminiscent of your favorite fair treat. It’s an eye-catching centerpiece for your next celebration, whether it’s a birthday party, baby shower, or just an excuse to indulge in something a bit whimsical. Plus, it’s easier to create than you might think!
The Complete Cooking Journey
With just a few simple ingredients and some cheerful inspiration, you will embark on a delightful journey of baking. You’ll start by combining creamy butter and sugar, creating a sweet foundation, then blend in eggs and vanilla for that rich, luscious flavor. Folding in the dry ingredients and milk takes it to cake perfection, and finally, a sprinkle of cotton candy on top makes it the glorious vision it deserves to be!
Ingredients:
- 2 cups all-purpose flour
- 1 1/2 cups granulated sugar
- 1/2 cup unsalted butter, softened
- 1 cup milk
- 4 large eggs
- 1 tablespoon baking powder
- 1 teaspoon vanilla extract
- 1/4 teaspoon salt
- Cotton candy for decoration
- Food coloring (optional)
Method:
Step 1: Preheat and Prepare
Preheat the oven to 350°F (175°C). Grease and flour two 9-inch round cake pans to ensure a smooth release after baking.
Step 2: Cream Butter and Sugar
In a large mixing bowl, cream together the softened butter and granulated sugar until the mixture is light and fluffy—this creates that wonderful, rich texture for your cake.
Step 3: Add Eggs One by One
Crack the eggs into your butter-sugar blend one at a time, mixing well after each addition. This helps to create a smooth batter that is well combined.
Step 4: Infuse with Vanilla
Take a moment to stir in the sweet aroma of vanilla extract. This is where the cake starts to come alive with flavor.
Step 5: Combine Dry Ingredients
In another bowl, sift together the flour, baking powder, and salt. Mixing them separately first helps ensure an even rise and texture throughout the cake.
Step 6: Alternate Adding Ingredients
Gradually add your dry mixture to the wet ingredients, alternating with the milk. Mix gently until everything is well combined. You want to keep that light and airy texture!
Step 7: Add Color (Optional)
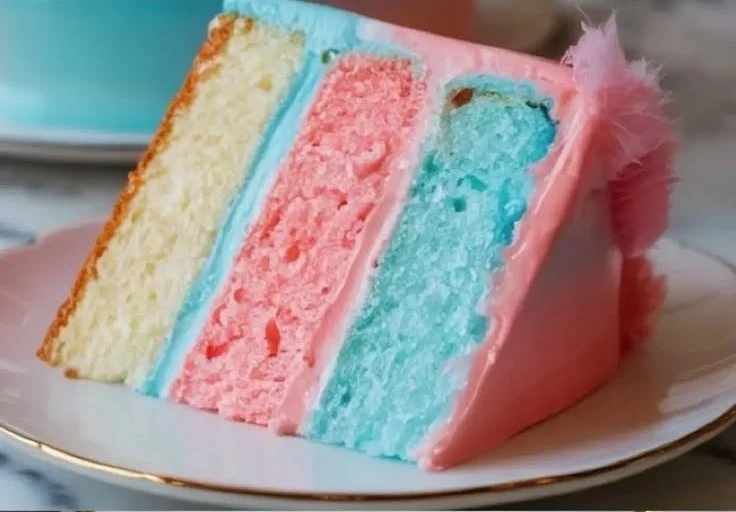
If you’re feeling creative, divide your batter and add a few drops of food coloring to each portion. This will make for vibrant, colorful cake layers that are sure to impress!
Step 8: Bake to Perfection
Pour the batter into your prepared pans and bake for 25-30 minutes, or until a toothpick inserted in the center comes out clean. Your kitchen will start to smell heavenly!
Step 9: Cool Completely
Once baked, let the cakes cool completely in their pans before transferring them to a wire rack. This ensures they maintain their shape.
Step 10: Assemble the Cake
Place one layer on a cake stand and generously add your desired frosting. Top with the second cake layer, pressing down gently to secure it.
Step 11: Decorate & Enjoy!
Finally, let your creativity run wild! Decorate the top with fluffy cotton candy and any additional fun toppings you desire. Then, slice, serve, and enjoy the smiles!
Serving Suggestions & Pairings
This Cotton Candy Cake pairs wonderfully with a scoop of vanilla ice cream or a dollop of whipped cream. For a fun party atmosphere, serve with colorful sprinkles and vibrant drinks like lemonade or soda floats.
Storage & Leftovers Guide
Store any leftover cake in an airtight container at room temperature for up to 3 days. For longer storage, keep it in the refrigerator for up to a week. Note that the cotton candy will lose its fluffiness over time, so it’s best added close to serving!
Kitchen Wisdom & Success Tips
- Make sure your butter is soft enough for creaming but not melted.
- For an extra layer of flavor, consider adding a pinch of almond extract along with the vanilla.
- Use high-quality cotton candy for a vibrant color and best taste.
Flavor Variations & Adaptations
Feel free to experiment! You could swap out half of the all-purpose flour for cake flour for an even lighter cake. Alternatively, add blue raspberry or strawberry flavoring along with the vanilla to enhance that cotton candy taste!
Reader Questions & Solutions
-
Can I make this cake ahead of time?
- Yes! You can bake the layers a day ahead, just be sure to wrap them well for freshness.
-
What frosting works best with this cake?
- A light buttercream or whipped cream frosting complements the sweet flavors perfectly.
-
How do I prevent my cake from sticking?
- Greasing and flouring your pans well is key, or you could use parchment paper for extra security.
-
Can I use a different type of milk?
- Absolutely! Almond milk or whole milk will work just as fine in this recipe.
-
What if I don’t have food coloring?
- It’s not necessary! The cake will still be wonderful – just as delightful in its classic form!
Wrapping Up
Baking this Cotton Candy Cake is not only a way to satisfy a sweet tooth, but it’s also a beautiful opportunity to enjoy the process of creating something fun! With its catchy colors and nostalgia-inducing taste, it’s bound to be a hit at any gathering. So grab your apron and get ready to whip up some cotton candy magic!
PrintCotton Candy Cake
A whimsical dessert that captures the spirit of a carnival with every slice.
- Prep Time: 20 minutes
- Cook Time: 30 minutes
- Total Time: 90 minutes
- Yield: 12 servings 1x
- Category: Dessert
- Method: Baking
- Cuisine: American
- Diet: Vegetarian
Ingredients
- 2 cups all-purpose flour
- 1 1/2 cups granulated sugar
- 1/2 cup unsalted butter, softened
- 1 cup milk
- 4 large eggs
- 1 tablespoon baking powder
- 1 teaspoon vanilla extract
- 1/4 teaspoon salt
- Cotton candy for decoration
- Food coloring (optional)
Instructions
- Preheat the oven to 350°F (175°C) and grease and flour two 9-inch round cake pans.
- Cream together the softened butter and granulated sugar until light and fluffy.
- Crack the eggs into the butter-sugar blend one at a time, mixing well after each addition.
- Stir in the vanilla extract.
- Sift together flour, baking powder, and salt in another bowl.
- Alternate adding the dry mixture with the milk to the wet ingredients, mixing gently.
- If desired, divide the batter and add food coloring to create colorful layers.
- Pour the batter into prepared pans and bake for 25-30 minutes or until a toothpick comes out clean.
- Cool the cakes in the pans completely, then transfer them to a wire rack.
- Assemble the cake by layering with frosting and decorating with cotton candy.
- Serve and enjoy!
Notes
Store leftovers in an airtight container at room temperature for up to 3 days. Use parchment paper for easier release from pans.
Nutrition
- Serving Size: 1 slice
- Calories: 350
- Sugar: 28g
- Sodium: 150mg
- Fat: 15g
- Saturated Fat: 9g
- Unsaturated Fat: 6g
- Trans Fat: 0g
- Carbohydrates: 54g
- Fiber: 0.5g
- Protein: 4g
- Cholesterol: 180mg