There’s something truly magical about the way a simple cake can transform a gathering into a celebration. For me, the Vanilla Dream Cake embodies that magic perfectly. It’s not just a dessert; it’s a canvas for memories. I remember the first time I baked this cake for my sister’s birthday. She was turning 30, and we wanted an indulgent treat that would delight her friends. As the cake baked, the sweet aroma of vanilla filled the kitchen, whisking us into a realm of anticipation. The moment we served those fluffy slices topped with whipped cream, the smiles on everyone’s faces were worth every ounce of effort. Let me take you on a delightful journey to create this dreamy cake that is perfect for any occasion!
Recipe Timing
- Prep Duration: 20 minutes
- Active Cooking: 30 minutes
- Total Duration: 1 hour
- Portion Size: 12 servings
- Complexity: Simple
Nutritional Recipe
- Calories per portion: approximately 420 kcal
- Protein: 4 g
- Carbs: 50 g
- Fats: 24 g
- Fiber: 0 g
- Sugars: 28 g
- Sodium: 150 mg
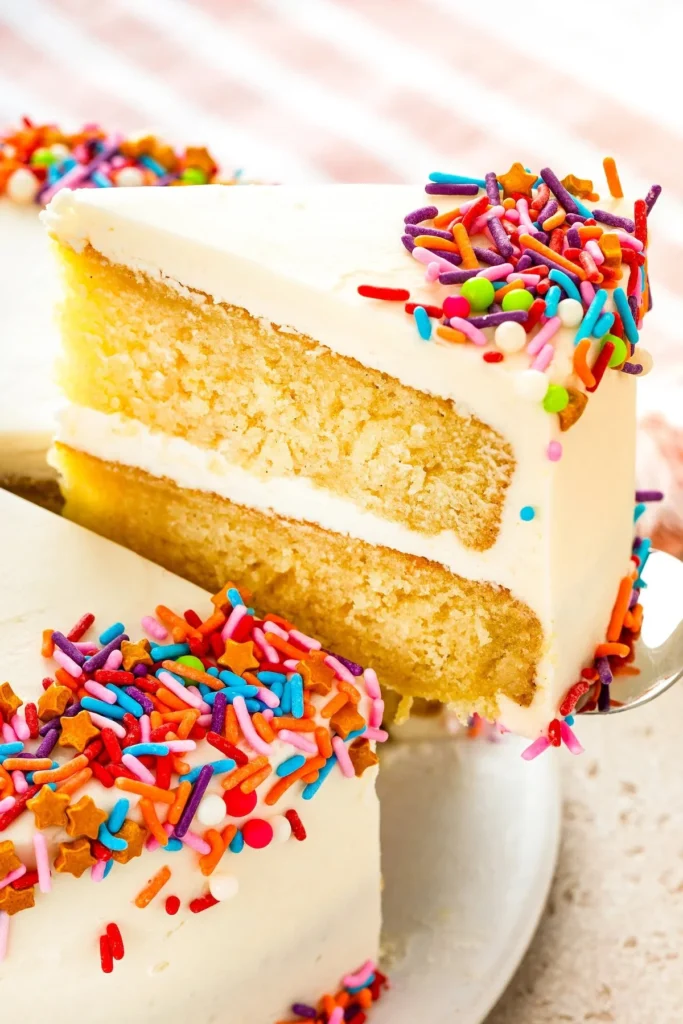
Why You’ll Love This Vanilla Dream Cake
This Vanilla Dream Cake is like a warm hug on a plate. The butter provides a rich, moist texture, while the buttermilk makes it tender and fluffy. Every bite bursts with the sweet, fragrant essence of vanilla. Topped with whipped cream that feels like a cloud of sweetness, it not only pleases the taste buds but also brings a comforting nostalgia. This cake is versatile, suitable for birthdays, holidays, or just because you deserve a treat!
The Complete Cooking Journey
Imagine stepping into your kitchen, the sun streaming through the window as you gather your ingredients. The soft sound of mixing bowls and the warmth of your oven set the stage for a delightful time. As you cream the butter and sugar, let the anticipation build, and soon you’ll be rewarded with a dreamy cake that brings everyone together.
Ingredients:
- 2 cups all-purpose flour
- 1 1/2 cups granulated sugar
- 1 cup unsalted butter, softened
- 4 large eggs
- 1 cup buttermilk
- 2 teaspoons vanilla extract
- 1 tablespoon baking powder
- 1/2 teaspoon salt
- 1 cup heavy cream
- 2 tablespoons powdered sugar
- 1 teaspoon vanilla extract (for whipped cream)
Method:
Step 1: Preheat and Prepare
Preheat the oven to 350°F (175°C). Grease and flour two 9-inch round cake pans to ensure your cake glides out easily when done.
Step 2: Cream Butter and Sugar
In a large bowl, cream together the softened butter and granulated sugar until light and fluffy. This is where the magic begins! The mixture should turn pale and airy.
Step 3: Incorporate Eggs
Add the eggs, one at a time, beating well after each addition. This process ensures that each egg gets evenly mixed in, adding to the cake’s richness.
Step 4: Add Vanilla Extract
Stir in the 2 teaspoons of vanilla extract, bringing that comforting scent to the forefront and creating layers of flavor in the batter.
Step 5: Mix Dry Ingredients
In another bowl, whisk together the all-purpose flour, baking powder, and salt. This step is crucial for evenly distributing the baking powder in your cake.
Step 6: Combine Wet and Dry Ingredients
Gradually add the dry ingredients to the wet ingredients, alternating with the buttermilk. Start and end with the dry ingredients, mixing until just combined. Take care not to overmix; we want a tender cake!
Step 7: Divide and Smooth
Divide the batter evenly between the prepared pans and smooth the tops with a spatula. This ensures an even baking surface.
Step 8: Bake to Perfection
Bake in the preheated oven for 25-30 minutes, or until a toothpick inserted into the center comes out clean. This is the moment you’ll start smelling that irresistible aroma wafting through the kitchen!
Step 9: Cooling Time
Allow the cakes to cool in the pans for 10 minutes before turning them out onto wire racks to cool completely. It’s essential to let them cool to prevent your frosting from melting.
Step 10: Create the Whipped Cream
For the whipped cream, beat the heavy cream, powdered sugar, and 1 teaspoon of vanilla extract until stiff peaks form. This fluffy topping is the ideal crown for your cake.
Step 11: Frosting Layers
Once the cakes are completely cooled, frost the top of one cake layer, place the other layer on top, and frost the top and sides of the cake. Create a beautiful finish that makes it look as delightful as it tastes!
Step 12: Serve and Savor
Slice, serve, and indulge in your Vanilla Dream Cake. Watch the joy unfold as everyone takes their first bite!
Serving Suggestions & Pairings
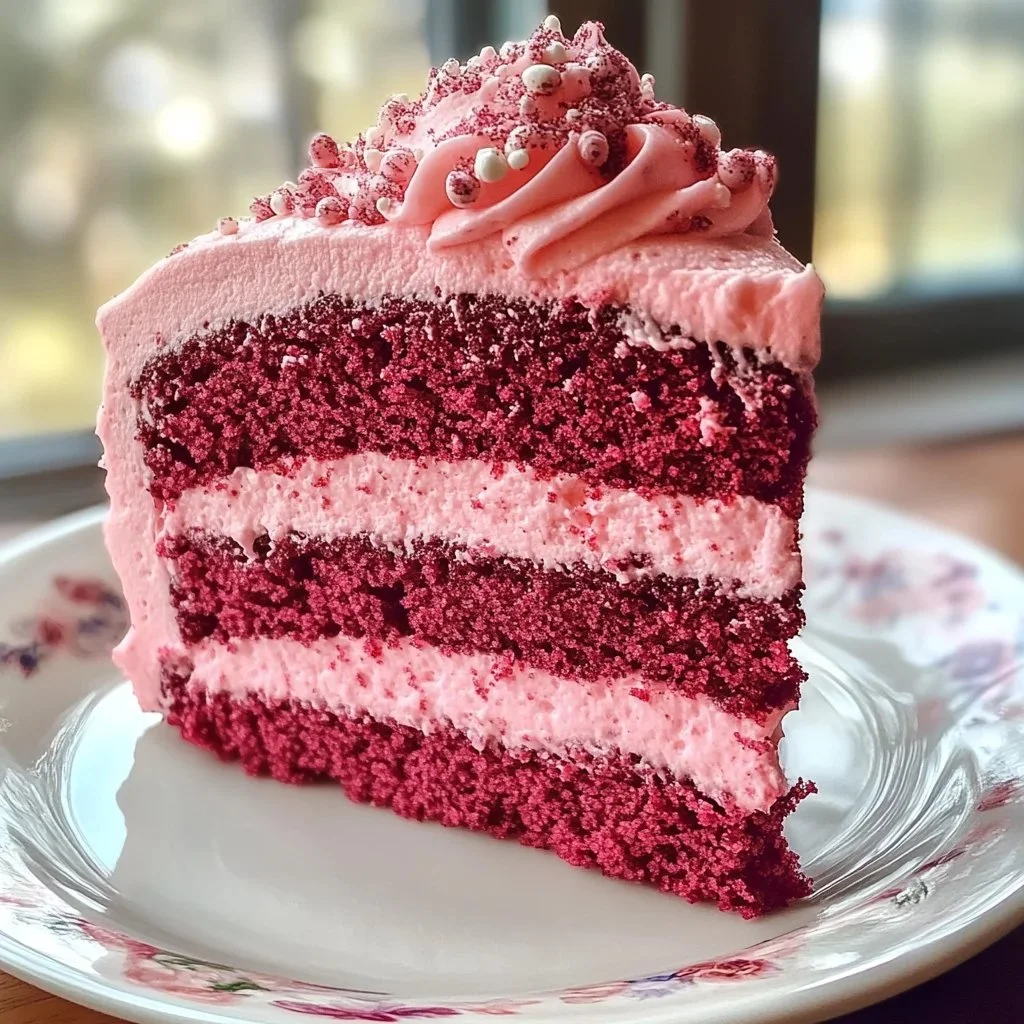
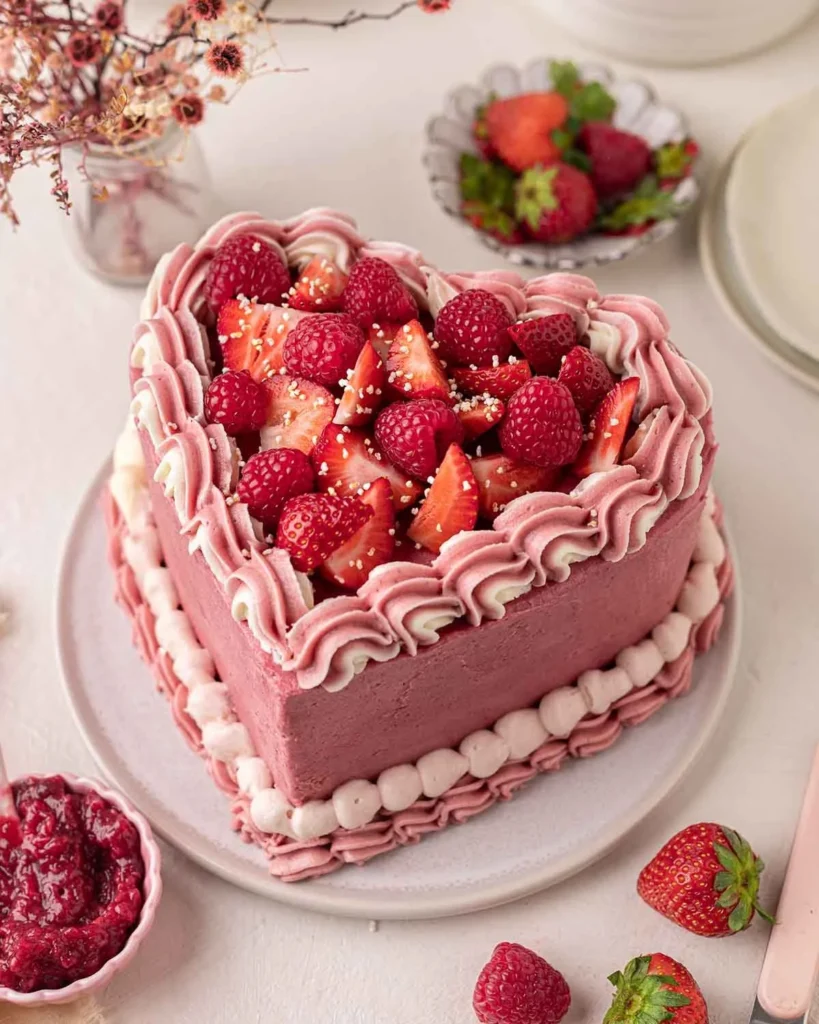
This cake pairs wonderfully with fresh fruits like strawberries or raspberries, which add a bright note to the rich flavors. A scoop of vanilla ice cream elevates the experience even further. For drinks, serve it alongside a light cup of tea or coffee for the perfect afternoon treat.
Storage & Leftovers Guide
Store leftover cake in an airtight container at room temperature for up to 3 days. If you want to prolong its freshness, refrigerate it for up to a week. You can also freeze individual slices wrapped tightly in plastic wrap for up to a month – just thaw before enjoying!
Kitchen Wisdom & Success Tips
- Ingredient Temperature: Always use room-temperature ingredients for better emulsification.
- Don’t Overmix: Overmixing the batter can lead to a dense texture, so mix until just combined.
- Cooling Time: Be patient and let your cakes cool fully before frosting to avoid melting.
Flavor Variations & Adaptations
Feeling adventurous? You can infuse this cake with other flavors like almond or lemon extract. Add layers of jam or fresh fruit between the cake for a delightful surprise. For a chocolate lover’s twist, swap 1/2 cup of flour with cocoa powder!
Reader Questions & Solutions
-
How do I know when the cake is done?
Insert a toothpick into the center – if it comes out clean or with a few crumbs, it’s ready! -
Can I use a different type of flour?
You can experiment with cake flour for a lighter texture or gluten-free flour blends, but ensure they are suitable for baking. -
What if my whipped cream deflates?
Ensure your cream is well-chilled, and beat until stiff peaks form. If it deflates, too much air wasn’t incorporated; gently re-beat to fluff it up. -
Can I make this cake in advance?
Yes! Just bake and cool the layers, wrap them well, and refrigerate. Frost just before serving. -
How do I store leftover frosting?
Leftover whipped cream can be stored in an airtight container in the fridge for up to 2 days. Simply re-whip before using.
Wrapping Up
This Vanilla Dream Cake is not just a recipe; it’s a way to create lasting memories with loved ones. Whether it’s a special occasion or a simple family dinner, baking this cake brings everyone together. So roll up your sleeves, embrace the joy of baking, and let the heavenly aroma fill your kitchen. Happy baking!
PrintVanilla Dream Cake
A dreamy vanilla cake that’s perfect for celebrations, topped with fluffy whipped cream.
- Prep Time: 20 minutes
- Cook Time: 30 minutes
- Total Time: 60 minutes
- Yield: 12 servings 1x
- Category: Dessert
- Method: Baking
- Cuisine: American
- Diet: Vegetarian
Ingredients
- 2 cups all-purpose flour
- 1 1/2 cups granulated sugar
- 1 cup unsalted butter, softened
- 4 large eggs
- 1 cup buttermilk
- 2 teaspoons vanilla extract
- 1 tablespoon baking powder
- 1/2 teaspoon salt
- 1 cup heavy cream
- 2 tablespoons powdered sugar
- 1 teaspoon vanilla extract (for whipped cream)
Instructions
- Preheat the oven to 350°F (175°C). Grease and flour two 9-inch round cake pans.
- Cream together the softened butter and granulated sugar until light and fluffy.
- Add the eggs, one at a time, beating well after each addition.
- Stir in the 2 teaspoons of vanilla extract.
- Whisk together the all-purpose flour, baking powder, and salt in another bowl.
- Gradually add the dry ingredients to the wet ingredients, alternating with the buttermilk.
- Divide the batter evenly between the prepared pans and smooth the tops.
- Bake for 25-30 minutes, or until a toothpick comes out clean.
- Allow the cakes to cool in the pans for 10 minutes before turning them out onto wire racks to cool completely.
- Beat the heavy cream, powdered sugar, and 1 teaspoon of vanilla extract until stiff peaks form for the whipped cream.
- Frost the top of one cake layer, place the other layer on top, and frost the sides of the cake.
- Slice, serve, and enjoy your Vanilla Dream Cake!
Notes
Store leftovers in an airtight container up to 3 days room temperature or 1 week refrigerated.
Nutrition
- Serving Size: 1 slice
- Calories: 420
- Sugar: 28g
- Sodium: 150mg
- Fat: 24g
- Saturated Fat: 15g
- Unsaturated Fat: 9g
- Trans Fat: 1g
- Carbohydrates: 50g
- Fiber: 0g
- Protein: 4g
- Cholesterol: 100mg