
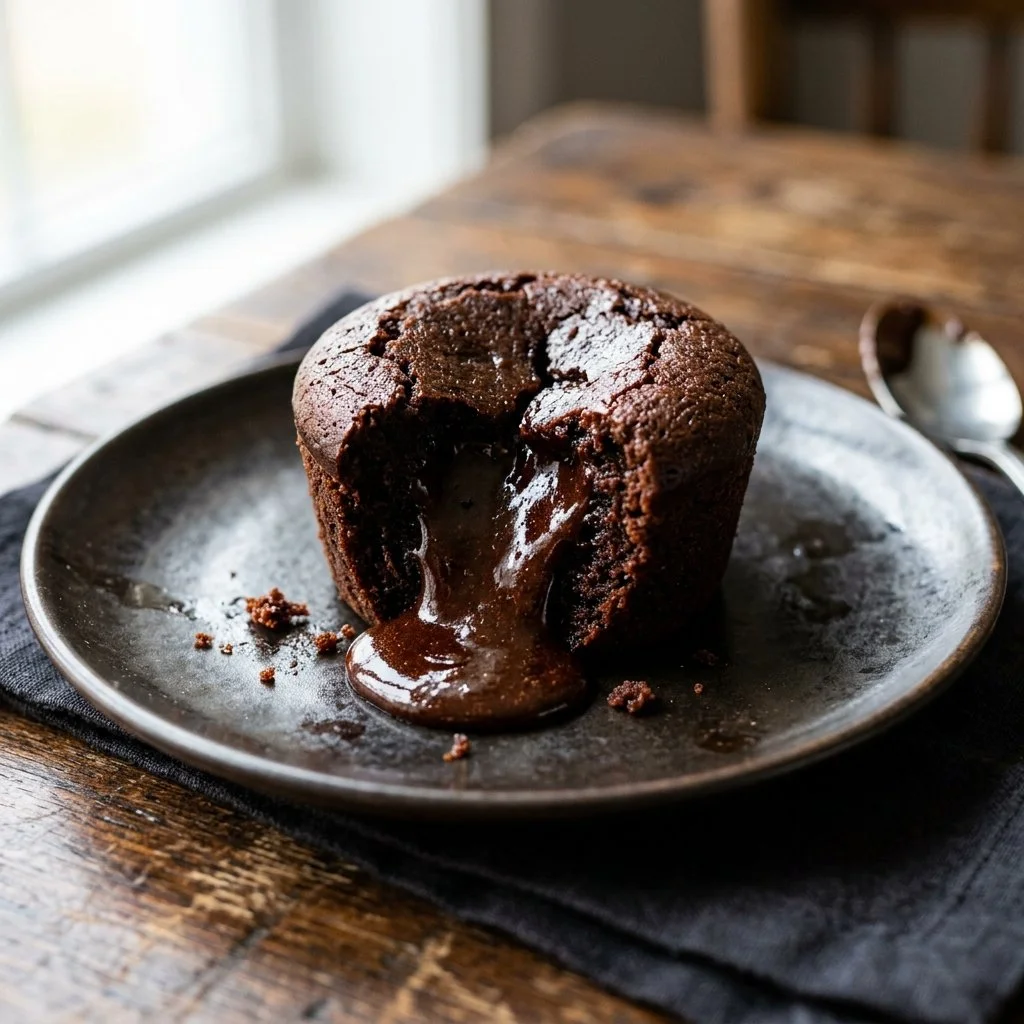
There’s something truly magical about the first forkful of a warm Chocolate Lava Cake. You know, the kind where the rich, gooey chocolate center oozes out, creating a puddle of pure bliss right on your plate. I can still recall the first time I encountered this decadent dessert. It was during a cozy dinner at a quaint little bistro tucked away in a vibrant neighborhood. As I took my first bite, I was transported to a world where chocolate reigns as king. Each mouthful was like a warm hug, and from that moment on, I was determined to master this recipe at home.
The beauty of Chocolate Lava Cake is how surprisingly simple it is to whip up in your own kitchen. With just a handful of ingredients, you can achieve a stunning dessert that will impress your guests—or simply indulge your own sweet tooth!
Recipe Timing
- Prep Duration: 15 minutes
- Active Cooking: 14 minutes
- Total Duration: 29 minutes
- Portion Size: Serves 4
- Complexity: Simple
Nutritional Recipe
- Calories per portion: Approximately 350
- Protein: 5g
- Carbs: 40g
- Fats: 20g
- Fiber: 1g
- Sugars: 30g
- Sodium: 140mg
Why You’ll Love This Chocolate Lava Cake
Imagine the perfect evening: a warm slice of Chocolate Lava Cake sits before you, dusted with a light sprinkle of powdered sugar, perhaps accompanied by a scoop of vanilla ice cream. With its soft, melting center and rich chocolate flavor, this recipe is the ultimate comfort food. It’s great for romantic dinners, birthday celebrations, or any occasion that calls for a sweet treat. Plus, the joy in watching your guests’ eyes light up as they dig into it is simply priceless!
The Complete Cooking Journey
The journey to create this divine treat starts with the basics: preheating the oven, melting chocolate, and creating a silky batter that comes together in mere minutes. As the cakes bake, your kitchen fills with the irresistible aroma of chocolate—trust me, it’s a game changer. The trick is in the baking time; this is where you will achieve that perfect lava-like center. Just a little patience, and soon enough, you’ll be ready to serve up these chocolate delights.
Ingredients:
- 1 cup dark chocolate chips
- 1/2 cup unsalted butter
- 1 cup powdered sugar
- 2 large eggs
- 2 large egg yolks
- 1 teaspoon vanilla extract
- 1/2 cup all-purpose flour
- A pinch of salt
Method:
Step 1: Preheat the Oven and Prepare Ramekins
Preheat the oven to 425°F (220°C). Grease and flour four ramekins to ensure your delicious cakes come out effortlessly.
Step 2: Melt Chocolate and Butter
In a microwave-safe bowl, melt the chocolate and butter together in 30-second intervals, stirring in between until smooth. This technique prevents burning and ensures a silky mixture.
Step 3: Combine with Sugar
Whisk in the powdered sugar until well combined. This step adds the sweetness that perfectly balances the dark chocolate.
Step 4: Add Eggs and Vanilla
Add the eggs, egg yolks, and vanilla extract; whisk until smooth. This mix will give your cake its rich, custardy texture.
Step 5: Fold in Flour and Salt
Gently fold in the flour and a pinch of salt until just combined. Be careful not to overmix; the magic is in the gentle touch!
Step 6: Divide the Batter
Divide the batter evenly among the prepared ramekins, filling each about three-quarters full to leave room for the cakes to rise.
Step 7: Bake to Perfection
Bake for 12-14 minutes, until the edges are firm but the center is soft. Keep an eye on them—the perfect lava cake is all about timing!
Step 8: Cool Slightly
Let the cakes cool for 1 minute before carefully inverting them onto plates. This is the moment when anticipation builds as you reveal that luscious center.
Step 9: Serve Immediately
Serve your Chocolate Lava Cakes right away, optionally with a scoop of vanilla ice cream for that extra decadence.
Serving Suggestions & Pairings
While these cakes are divine on their own, they shine brightest next to a scoop of vanilla ice cream or a dollop of whipped cream. Fresh berries—like strawberries or raspberries—add a tart contrast that enhances the chocolate richness. Consider pairing with a cup of freshly brewed coffee or a dessert wine for a complete experience.
Storage & Leftovers Guide
While these cakes are best enjoyed fresh, you can store leftovers in an airtight container in the fridge for up to two days. Reheat them gently in the microwave for a few seconds to revive that gooeyness before serving again.
Kitchen Wisdom & Success Tips
To ensure your lava cakes turn out perfectly every time, here are a few tips:
- Make sure your oven is properly calibrated; slight temperature differences can lead to overbaking.
- Use high-quality chocolate for the best flavor.
- If you don’t have ramekins, you can use muffin tins—just adjust the baking time accordingly.
Flavor Variations & Adaptations
Feel free to infuse different flavors into your cakes! Try adding a splash of espresso for a mocha twist, or a tablespoon of orange zest for a citrusy note. You could even experiment with different chocolates, like milk chocolate or white chocolate for a unique dessert experience.
Reader Questions & Solutions
-
What if my cakes overflow?
- Make sure you’re not overfilling the ramekins. If they do overflow, reduce the baking time slightly next time.
-
Can I make these in advance?
- Yes, prepare the batter, pour it into the ramekins, cover, and refrigerate for up to 2 days. Bake just before serving.
-
What can I use instead of unsalted butter?
- You can substitute with coconut oil, but the texture may vary slightly.
-
How do I know when they’re done?
- The edges should be set while the center remains soft and jiggly.
-
Can I freeze these cakes?
- Yes, but it’s best to freeze the unbaked batter. Freeze the ramekins after they are prepared, and then bake them from frozen, adding a few extra minutes to the cooking time.
Wrapping Up
Baking a Chocolate Lava Cake might seem intimidating at first, but I assure you, it’s a deliciously rewarding experience that everyone can achieve. Embrace the joy of home cooking and treat yourself (and your loved ones) to the blissful warmth of a freshly baked cake. The thrill of that molten center is worth it every time. So grab those ingredients, put on your favorite playlist, and let’s make some magic happen in your kitchen!


