
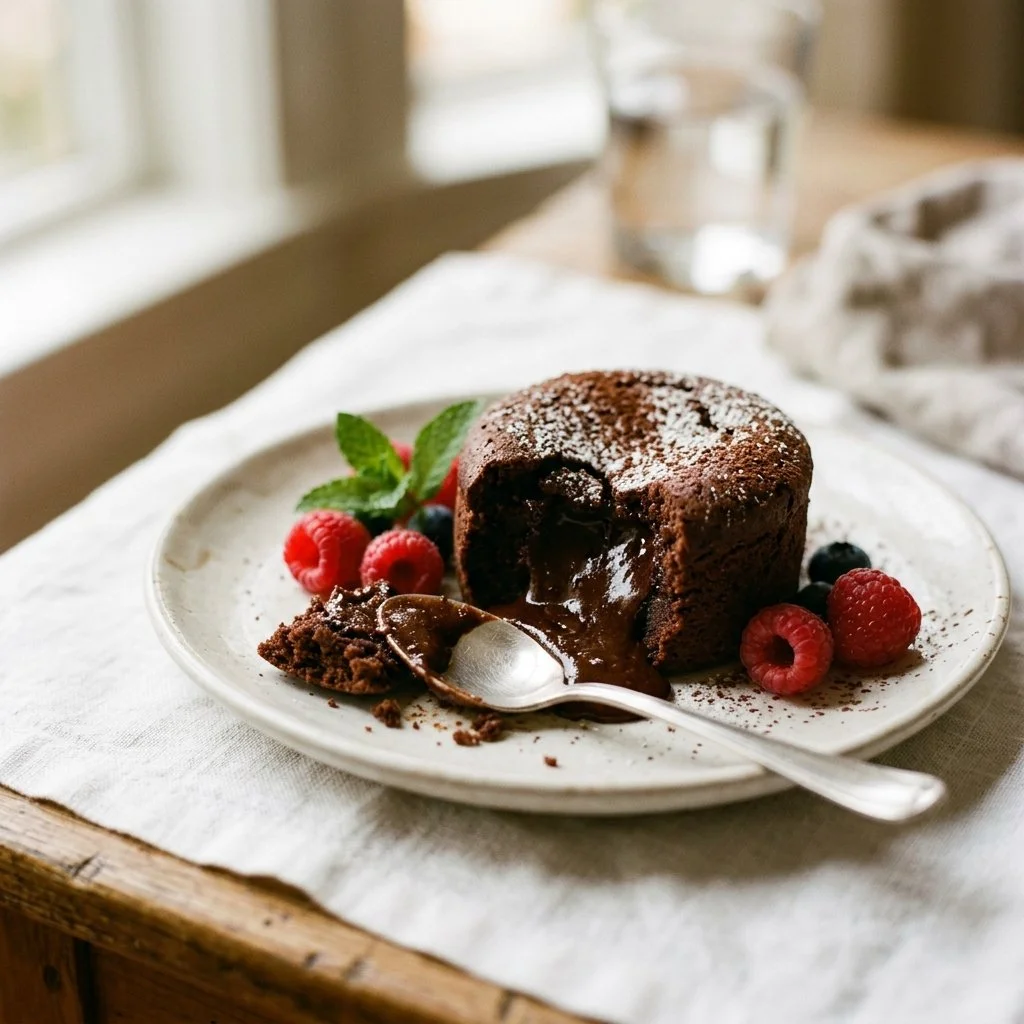
There’s something undeniably magical about desserts that ooze with rich, molten chocolate—a perfect chocolate lava cake embodies this elegance. Each time I make this dessert, I’m reminded of a dear friend who introduced me to the art of baking. We spent countless afternoons experimenting in the kitchen, laughing and sharing tales as the aroma of melted chocolate filled the air. This chocolate lava cake became our signature dish; its warm, gooey center was our ultimate prize.
There’s a joy in impressing loved ones with a dessert that’s not only simple to make but also elicits pure delight. With just a few ingredients, you can create a breathtaking dessert that will impress your friends and family, making every gathering special. Ready to dive into the chocolatey goodness?
Recipe Timing
- Prep Duration: 10 minutes
- Active Cooking: 14 minutes
- Total Duration: 24 minutes
- Portion Size: Serves 4
- Complexity: Simple
Nutritional Recipe
- Calories per portion: Approximately 350
- Protein: 5g
- Carbs: 44g
- Fats: 18g
- Fiber: 1g
- Sugars: 28g
- Sodium: 80mg
Why You’ll Love This Chocolate Lava Cake
Imagine the moment you gently cut into the chocolate shell, revealing a warm, flowing river of rich, velvet chocolate that spills over the plate. The exterior is just set enough to hold its shape, while the center is like a chocolate dream waiting to be savored. The balance of sweetness from the semi-sweet chocolate and the soft, melting butter creates a symphony of flavors. With its beautiful presentation and tantalizing aromas, this cake is perfect for special occasions, quiet evenings at home, or when you simply want to treat yourself!
The Complete Cooking Journey
The beauty of this chocolate lava cake lies not just in its taste but also in the ease of the process. From melting chocolate to the final plating, every step is seamless and enjoyable. You’ll find that baking can be a comforting ritual, allowing you to escape into a world filled with rich scents and indulgent flavors.
Ingredients:
- 1 cup semi-sweet chocolate chips
- 1/2 cup unsalted butter
- 1 cup powdered sugar
- 2 large eggs
- 2 large egg yolks
- 1 teaspoon vanilla extract
- 1/2 cup all-purpose flour
- Pinch of salt
Method:
Step 1: Preheat the Oven and Prepare Ramekins
Preheat your oven to 425°F (220°C) and grease ramekins with butter or non-stick spray to ensure the cakes pop out easily.
Step 2: Melt Chocolate and Butter
In a microwave-safe bowl, melt the chocolate and butter together until smooth and combined, stirring periodically to avoid burning.
Step 3: Incorporate Sweetness
Stir in the powdered sugar, mixing until you have a glossy and silky texture.
Step 4: Mix in the Eggs
Add the eggs and egg yolks to the mixture, and whisk until everything is well combined and smooth.
Step 5: Add Flavor and Flour
Stir in the vanilla extract along with the flour and a pinch of salt, ensuring all ingredients are thoroughly mixed without overbeating.
Step 6: Fill the Ramekins
Pour the batter into the prepared ramekins, filling them about 2/3 full, allowing room for the cakes to expand while baking.
Step 7: Bake to Perfection
Bake for 12-14 minutes, until the edges are firm but the center is soft, creating that signature lava-like texture.
Step 8: Rest and Serve
Let the cakes cool for 1 minute, then carefully invert onto plates. Serve immediately for the best molten experience!
Serving Suggestions & Pairings
To elevate this dessert to the next level, serve it topped with a scoop of vanilla ice cream or a dollop of freshly whipped cream. A sprinkle of sea salt on top adds a delightful contrast to the sweetness. Pair it with a glass of red wine or a rich espresso for a perfect ending to a meal.
Storage & Leftovers Guide
While best enjoyed fresh, any leftover cakes can be stored in the refrigerator for up to 2 days. To rewarm, place in a microwave for a few seconds, making sure to check on it frequently for that gooey goodness.
Kitchen Wisdom & Success Tips
- Ensure your ramekins are well-greased to prevent sticking.
- Avoid overbaking; the center should be soft and rich, while the edges should be set.
- If you’re making this for a special occasion, consider baking a test batch to get the timing just right.
Flavor Variations & Adaptations
Try experimenting with different chocolates—dark chocolate can give a richer flavor, while white chocolate can create a contrasting sweet treat. Add a hint of instant coffee or espresso powder to enhance the chocolate flavor, or infuse a splash of orange liqueur for a zesty twist.
Reader Questions & Solutions
-
Why did my lava cake not have a gooey center?
- Ensure not to overbake. The center must remain soft to achieve that lava effect.
-
Can I use muffin tins instead of ramekins?
- Yes, but adjust cooking time; they may bake faster in a muffin tin due to the larger surface area.
-
What if I don’t have semi-sweet chocolate?
- You can substitute with dark chocolate, but decrease the sugar slightly to balance the sweetness.
-
Can I make this ahead of time?
- Yes, you can prepare the batter and refrigerate it in ramekins until you’re ready to bake; just bake the same day for best results.
-
Is it okay to freeze these cakes?
- Yes, but they are best enjoyed fresh. If freezing, reheat in a microwave gently.
Wrapping Up
There’s something simply enchanting about taking the time to create this chocolate lava cake. It’s a delightful project that not only brings joy to those who bake it but also to those who indulge in its decadent warmth. So, gather your loved ones and dive into the delightful experience of baking. After all, the best moments are often shared over a plate of warm chocolate goodness. Happy baking!


