
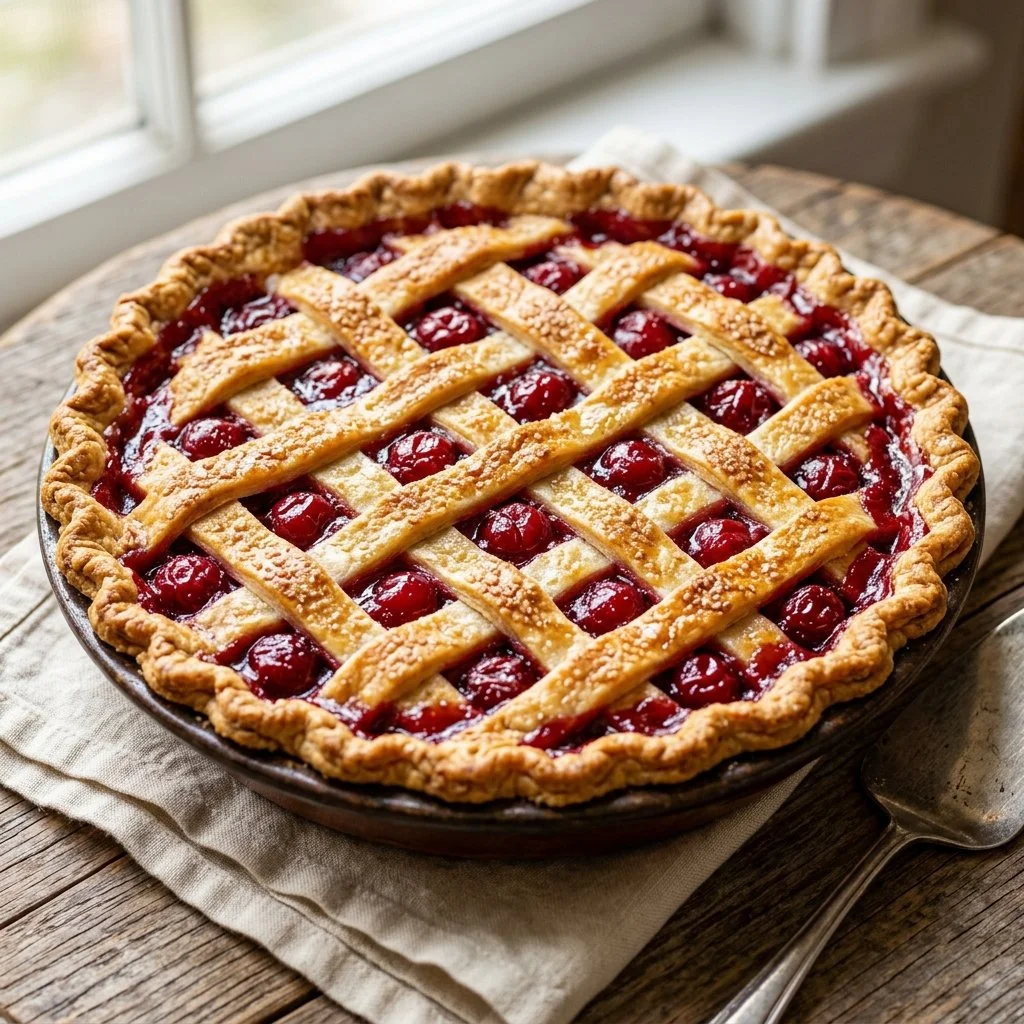
Every year, when summer arrives and the sun shines brightly, I find myself drifting back to childhood memories of my grandmother, who was the queen of pies. With her rolling pin in hand and flour dust dancing in the air, she would whip up delectable treats that filled our home with delightful aromas. Cherry pie was always a family favorite—its sweet, tart filling and flaky crust evoked joy and comfort. As I stood by her side, learning the treasured art of pie-making, I never imagined that one day, I would be sharing these beloved recipes with you. So, roll up your sleeves and let’s create a Classic Cherry Pie that not only honors these memories but also delights those around us!
Recipe Timing
- Prep Duration: 15 minutes
- Active Cooking: 25 minutes
- Total Duration: 40 minutes
- Portion Size: Serves 8
- Complexity: Simple
Nutritional Recipe
- Calories per portion: Approximately 250
- Protein: 2g per serving
- Carbs: 36g per serving
- Fats: 10g per serving
- Fiber: 2g per serving
- Sugars: 14g per serving
- Sodium: 150mg per serving
Why You’ll Love This Classic Cherry Pie
There’s something magical about baking a pie that transcends generations. The combination of cherries, sweetened just enough to balance their tartness, combined with a rich buttery crust creates a symphony of flavors that dances on your taste buds. Plus, this recipe is incredibly easy to follow, making it perfect for both novice bakers and seasoned pros alike. The addition of almond extract is a delightful twist that enhances the cherry flavor without overpowering it. Trust me, once you make this pie, you’ll find it hard to resist going for seconds (or thirds!).
The Complete Cooking Journey
Baking a pie isn’t just about the end product; it’s an experience. From the soothing sounds of the cherries simmering on the stove to the tantalizing aroma that fills your kitchen while it bakes, making this Classic Cherry Pie will be a journey to remember. And when you cut into that golden crust, revealing the beautifully bubbling cherry filling, you’ll feel like a culinary superstar—ready to share your creation and the love that went into it.
Ingredients:
- 2 cups fresh or frozen cherries
- 1 cup sugar
- 1/4 cup cornstarch
- 1/4 teaspoon almond extract
- 1 tablespoon lemon juice
- 1 tablespoon butter
- 1 package of pie crusts (or homemade)
- 1 egg (for egg wash)
Method:
Step 1: Preheat Your Oven
Preheat the oven to 425°F (220°C). This step ensures that your crust will bake to perfection—crispy and golden.
Step 2: Combine the Cherry Filling
In a saucepan, combine cherries, sugar, cornstarch, lemon juice, and almond extract. Cook over medium heat until the mixture thickens and starts to bubble, about 10 minutes. The fragrant aroma will have you dreaming of summer!
Step 3: Prepare the Pie Crust
Roll out one pie crust and place it in a pie dish. This will be the comforting base for your luscious cherry filling.
Step 4: Fill the Pie Crust
Spoon the cherry filling into the crust and dot with butter. This touch of butter helps to enrich the filling, creating a deeper flavor that blends beautifully with the cherries.
Step 5: Cover and Seal the Pie
Roll out the second pie crust, place it over the filling, and seal the edges by crimping them together. Cut slits in the top crust for steam to escape—this also adds a lovely aesthetic to your pie.
Step 6: Brush with Egg Wash
Brush the top crust with egg wash. This will give your pie that shiny, golden finish that is so inviting.
Step 7: Bake to Perfection
Bake for 30-35 minutes or until the crust is golden brown. The wait will be challenging, but the reward will be so worth it as the aroma wafts through your home.
Step 8: Cool and Serve
Allow the pie to cool before serving. This will help the filling set and make for easier slicing.
Serving Suggestions & Pairings
This Classic Cherry Pie is delicious on its own, but serve it with a scoop of vanilla ice cream or a dollop of whipped cream for an indulgent treat. It pairs perfectly with a hot cup of coffee or tea, making it a wonderful dessert for gatherings or cozy evenings in.
Storage & Leftovers Guide
Store any leftover pie in the refrigerator, covered tightly with plastic wrap. It will keep for about 3-4 days. If you want to freeze it, cover well and it should last up to 3 months. When you’re ready to indulge again, simply reheat in the oven for a delightful revival of flavors!
Kitchen Wisdom & Success Tips
- Use Quality Ingredients: Fresh, in-season cherries yield the best flavor, but frozen work just as well in a pinch!
- Don’t Skimp on the Butter: It’s a key ingredient that lends richness to the filling.
- Adjust Sweetness: Depending on the tartness of your cherries, feel free to adjust the sugar for your desired sweetness.
- Chill Your Dough: If making a homemade pie crust, chilling it ensures a flaky, tender crust.
- Cool Before Serving: This prevents the filling from running and helps maintain the integrity of each slice.
Flavor Variations & Adaptations
Want to mix it up? Try adding a tablespoon of cinnamon for a warm spice flavor. Or, mix in a cup of blueberries or raspberries with the cherries for a berry medley. For a tropical twist, consider adding a touch of coconut to the filling!
Reader Questions & Solutions
-
What can I use if I don’t have cornstarch?
- You can substitute it with all-purpose flour, using about twice the amount. Just keep in mind it may change the texture slightly.
-
Can I make this pie with other fruits?
- Absolutely! This method works beautifully with strawberries, apples, or peaches—just adjust the sugar content based on the fruit’s sweetness.
-
Why is my crust tough?
- Overworking the dough can lead to a tough crust. Handle it gently and avoid excessive kneading!
-
How can I tell when the pie is done?
- Look for a golden brown crust and bubbling filling; you can also insert a knife into the filling to check for thickness.
-
What’s the best way to prevent a soggy bottom crust?
- Blind bake the bottom crust for 10 minutes before adding the filling, or sprinkle a layer of breadcrumbs or crushed crackers on top of the crust before adding the filling to absorb moisture.
Wrapping Up
Baking a Classic Cherry Pie is more than just making dessert; it’s about recreating memories, sharing love, and inviting friends and family to gather around your table. So, whether you’re channeling your inner baker or making it a family tradition, I hope this recipe brings you the same joy it brings me. Now, gather those cherries, and let’s make some delicious memories together! Happy baking!


