
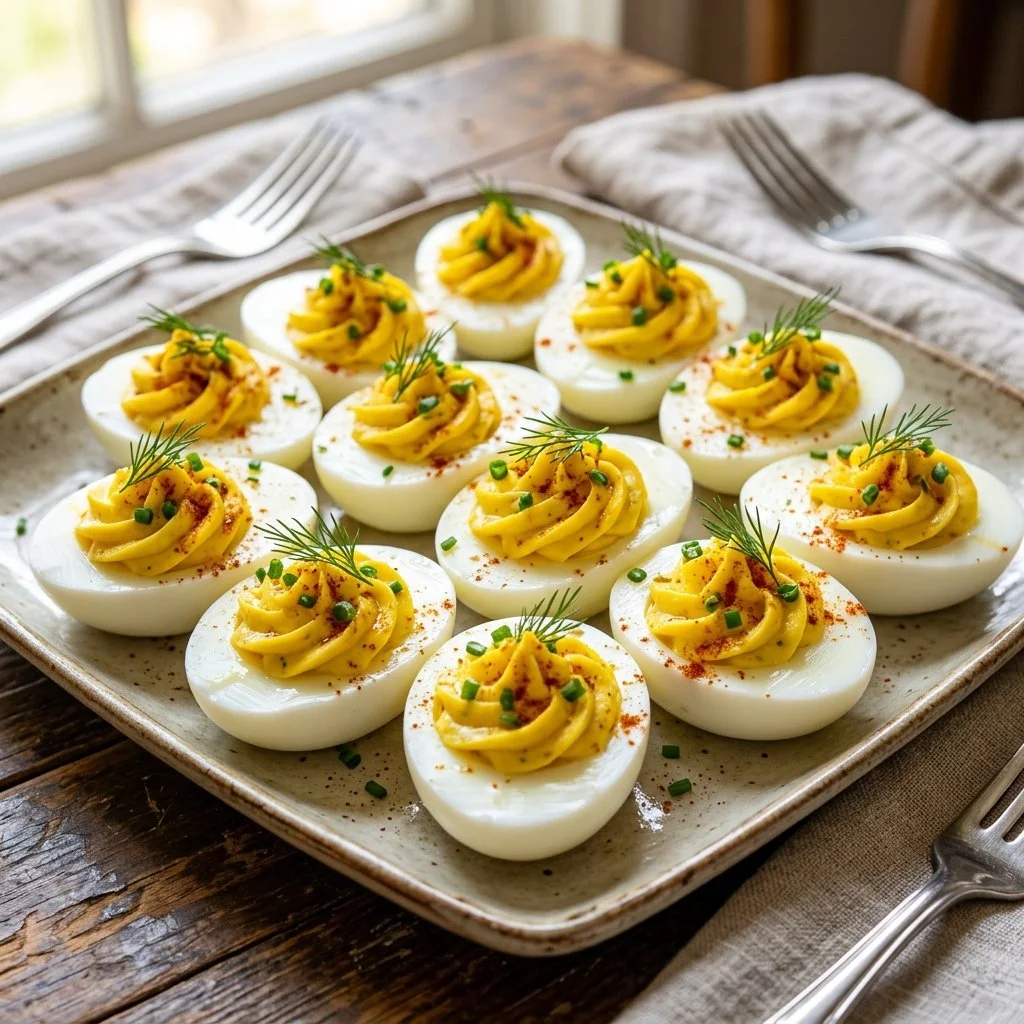
There’s something about classic deviled eggs that takes me back to my childhood, sitting at the kitchen table, surrounded by family and laughter. Every family gathering, whether it was a barbecue or a holiday feast, had its line-up of staple dishes, but deviled eggs always held a special place in my heart. The creamy, tangy filling nestled in perfectly cooked egg whites had a way of disappearing faster than anything else on the table. As an adult, I’ve taken that nostalgia and turned it into my own recipe, one that seamlessly marries tradition with a little personal flair.
The beauty of deviled eggs lies in their simplicity. They’re incredibly easy to whip up yet offer an impressive elegance, making them the perfect appetizer for any occasion. Whether you’re entertaining friends or need a dish to pass at the next potluck, these Classic Deviled Eggs are sure to delight.
Recipe Timing
- Prep Duration: 10 minutes
- Active Cooking: 15 minutes
- Total Duration: 25 minutes
- Portion Size: 12 half eggs
- Complexity: Simple
Nutritional Recipe
- Calories per portion: Approximately 70 calories
- Protein: 5 grams
- Carbs: 0.6 grams
- Fats: 5 grams
- Fiber: 0 grams
- Sugars: 0.1 grams
- Sodium: 75 mg
Why You’ll Love This Classic Deviled Eggs
These deviled eggs are not just a blast from the past—they are versatile enough to suit any palate. The tanginess from the Dijon mustard and vinegar adds a delightful zing, while the creaminess of the mayonnaise ensures each bite melts in your mouth. Plus, they can be garnished to fit any theme or occasion—just imagine them topped with crumbled bacon for a savory twist or a slice of jalapeño for a spicy kick!
The Complete Cooking Journey
Making deviled eggs is a satisfying journey. It starts with hard boiling the eggs to perfection, ensuring they are neither undercooked nor overcooked. With the right techniques, your yolks will be vibrant yellow, not that unsightly green-grey hue that can result from overcooking. Then there’s the magical moment of mixing—the transformation of simple ingredients into a creamy dream filling!
Ingredients:
- 6 large eggs
- 3 tablespoons mayonnaise
- 1 teaspoon Dijon mustard
- 1 teaspoon white vinegar
- Salt and pepper to taste
- Paprika for garnish
Method:
Step 1: Hard Boil the Eggs
Start by placing your eggs in a saucepan. Cover them with cold water and bring it to a boil. As soon as it bubbles, take the pot off the heat and cover it. Let the eggs sit in the hot water for 12 minutes. This gentle cooking process ensures a tender white and rich yellow yolk.
Step 2: Cool the Eggs
Transfer the eggs to a bowl filled with ice water. This cool bath will stop the cooking process, prevent that grey ring around the yolk, and make peeling much easier. Leave them to chill for about 5 minutes.
Step 3: Peel and Halve the Eggs
Once cooled, it’s time to peel! Gently tap each egg on a hard surface and roll it to crack the shell. Start peeling from the wider end for best results. Once they’re naked, slice them in half lengthwise, revealing the golden yolks inside.
Step 4: Remove the Yolks
Gently remove the yolks from the whites and place them into a mixing bowl. The whites should stay intact, ready to cradle that delicious filling.
Step 5: Make the Creamy Filling
Mash the yolks with mayonnaise, Dijon mustard, white vinegar, salt, and pepper until the mixture is smooth and creamy. This is where the flavor comes alive, and trust me, it will be hard to resist tasting this mixture before it even makes it back into the egg whites.
Step 6: Pipe It Back In
Using a spoon or a piping bag, lovingly fill each egg white with the yolk mixture. It’s an opportunity to get creative—swirl it high for a dramatic feel or keep it neat and tidy.
Step 7: Garnish and Serve
Sprinkle a dusting of paprika on top of each filled egg for that classic finish and a splash of color. Now your deviled eggs are ready to shine!
Serving Suggestions & Pairings
Deviled eggs are perfect on their own but can be paired beautifully with a crisp garden salad or some crunchy vegetable sticks. For an extra touch, serve them alongside a sharp cheese platter and some artisanal crackers, perfect for grazing throughout your gathering.
Storage & Leftovers Guide
If you have leftovers (though I wouldn’t count on it!), store them in an airtight container in the refrigerator for up to 2 days. You may notice the egg whites starting to lose some moisture over time, but they remain delicious nonetheless.
Kitchen Wisdom & Success Tips
- When boiling your eggs, older eggs are often easier to peel than fresh ones.
- To avoid that grey ring around your yolks, cool them quickly after cooking.
- For added flavor, consider adding chopped herbs or a dash of hot sauce to the yolk mixture.
Flavor Variations & Adaptations
Feel free to get creative! Try adding avocado for a creamy twist, or incorporate chopped olives for a Mediterranean flair. You can even swap the Dijon mustard for spicy mustard for an extra kick.
Reader Questions & Solutions
-
Why are my eggs hard to peel?
Fresh eggs tend to stick to the shell. Allow the eggs to sit in the fridge for a week before using them for easier peeling. -
How can I make my filling smoother?
Make sure you mash the yolks thoroughly and mix in the mayonnaise slowly until you achieve your desired consistency. -
What can I add for a spicy kick?
Consider adding a dash of cayenne pepper or sriracha to your yolk mixture for that added spice. -
Can I make these ahead of time?
Absolutely! Prepare them a day in advance, but add the paprika right before serving for the best presentation. -
How do I prevent the yolks from turning green?
The green ring is caused by overcooking. Ensure you cool them rapidly post-boiling to maintain that vibrant yellow.
Wrapping Up
Every bite of these Classic Deviled Eggs is a reminder of cherished memories and joyful times shared with loved ones. They’re not just a dish but a moment of connection—offering flavors that are simple yet deeply satisfying. I encourage you to gather around your table, create your own batch, and share a taste of nostalgia with family and friends. Happy cooking!


