
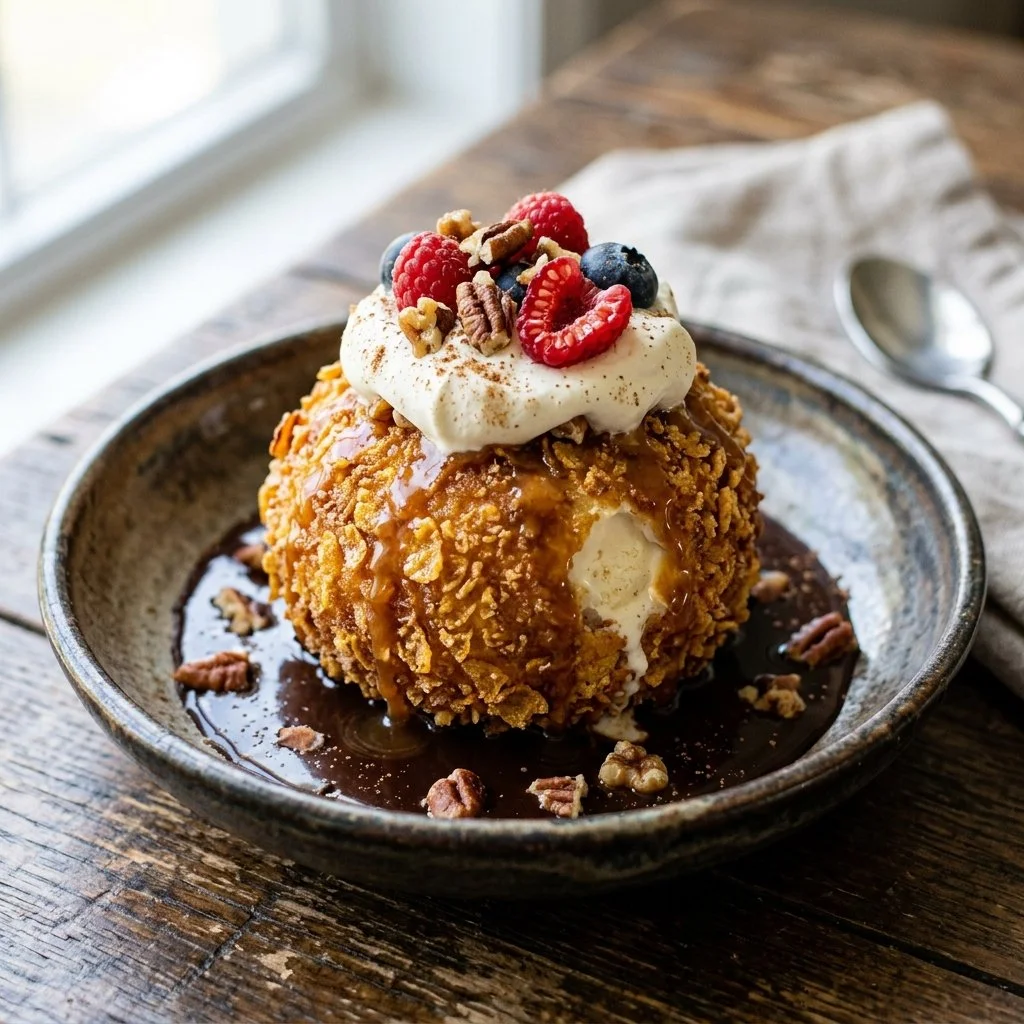
There’s something undeniably magical about the first bite of fried ice cream. Picture this: a perfectly golden, crispy shell that gives way to a luscious, cold vanilla center, sending rich waves of nostalgia across your taste buds. You might remember sharing this delightful dessert after a long day at school or celebrating a birthday with friends. It was a treat that seemed so sophisticated, yet so simple to love. Now, it’s your turn to recreate those memories in your own kitchen, with a recipe that boasts the same warmth and joy.
Recipe Timing
- Prep Duration: 20 minutes (plus freezing time)
- Active Cooking: 30 seconds per serving
- Total Duration: 2 hours, 20 minutes
- Portion Size: Serves 4 to 6
- Complexity: Simple
Nutritional Recipe
- Calories per portion: Approximately 320
- Protein: 6 g
- Carbs: 38 g
- Fats: 16 g
- Fiber: 1 g
- Sugars: 14 g
- Sodium: 200 mg
Why You’ll Love This Fried Ice Cream
Fried ice cream is a showstopper, an indulgent dessert that caters to both the sweet tooth and the adventurous spirit. The contrast between hot and cold, crispy and creamy, creates a taste and texture experience that is nothing short of divine. Not to mention, it’s incredibly easy to make with just a few ingredients! The smiles it garners from family and friends are worth every step of the cooking journey.
The Complete Cooking Journey
Now that we’ve whetted your appetite for this legendary dessert, let’s dive into the fun and straightforward cooking process. You will whip up delicious fried ice cream that will have everyone clamoring for seconds!
Ingredients:
- 1 quart vanilla ice cream
- 2 cups cornflakes, crushed
- 1 cup all-purpose flour
- 2 eggs
- 1 cup milk
- 1 teaspoon vanilla extract
- Oil for frying
- Chocolate syrup (optional, for drizzling)
- Whipped cream (optional, for topping)
Method:
Step 1: Scoop the Ice Cream
Scoop the vanilla ice cream into perfect balls, about the size of a golf ball. Lay them on a baking sheet lined with parchment paper, then pop them into the freezer for at least 2 hours until they are solid and firm.
Step 2: Prepare the Batter
In a medium bowl, combine the flour, eggs, milk, and vanilla extract. Whisk the mixture until it is smooth and lump-free, creating a batter that will serve as the delicious glue to hold your toppings.
Step 3: Crush the Cornflakes
In another bowl, take your cornflakes and crush them into smaller pieces. This texture is crucial because it gives that satisfying crunch when you take a bite. You can do this with your hands or a rolling pin—just make sure they’re crunchy and not powdered.
Step 4: Coat the Ice Cream Balls
Take the ice-cold ice cream balls out of the freezer. Roll each ball in the flour mixture, ensuring they are evenly coated, followed by rolling them in the crushed cornflakes. This creates that irresistible crispy jacket to your ice cream.
Step 5: Heat the Oil
In a deep fryer or a large pot, heat the oil until it reaches 350°F (175°C). This step is important as the proper temperature ensures that the batter crisps up perfectly without overcooking the ice cream.
Step 6: Fry the Ice Cream Balls
Carefully place the coated ice cream balls into the hot oil. Fry them for just about 20-30 seconds. You’re looking for that golden brown color; too long in the oil, and the ice cream will start melting!
Step 7: Drain the Excess Oil
Using a slotted spoon, remove the fried ice cream balls and place them on paper towels. This allows any excess oil to drain, keeping your dessert crispy rather than greasy.
Step 8: Serve Immediately
Serve your fried ice cream hot and fresh! Drizzle with chocolate syrup and top with fluffy whipped cream if you like. Enjoy every crunchy, creamy bite!
Serving Suggestions & Pairings
Fried ice cream shines as a standalone dessert. However, you can serve it alongside a scoop of traditional ice cream or a slice of pecan pie for an indulgent treat. Pair with fresh fruit, like strawberries or bananas, to balance the richness. Enjoy it with a robust cup of coffee or a refreshing iced tea for a delightful dessert experience.
Storage & Leftovers Guide
Fried ice cream is best enjoyed immediately, as it loses its crunch and icy charm over time. If you have leftovers, store any un-fried ice cream balls in an airtight container in the freezer. You can fry them up fresh when the craving strikes again, but be mindful that they may not retain the same quality.
Kitchen Wisdom & Success Tips
- Make sure your ice cream is very firm before coating—this will prevent melting during frying.
- Experiment with different toppings! Try using crushed nuts or coconut instead of cornflakes for a twist.
- If frying in batches, keep the oil temperature steady to maintain the perfect crisp.
Flavor Variations & Adaptations
While vanilla is classic, feel free to switch things up. Try chocolate or strawberry ice cream for an exciting twist on this dessert. You can also incorporate spices like cinnamon or nutmeg in the coating for additional flavor depth that can elevate your fried ice cream.
Reader Questions & Solutions
-
Why is my ice cream melting while frying?
- Ensure your ice cream is very cold before you start frying. Freeze your scoops for the recommended time.
-
Can I use a different cereal instead of cornflakes?
- Absolutely! Try Rice Krispies, crushed graham crackers, or even crushed cookies for unique textures.
-
How can I make fried ice cream gluten-free?
- Substitute all-purpose flour with a gluten-free flour blend and ensure the cornflakes are gluten-free as well.
-
What oil is best for frying?
- Vegetable oil, canola oil, or peanut oil are great choices due to their high smoke points.
-
Can I make these ahead of time?
- Yes! Prepare your coated ice cream balls and freeze them until ready to fry. Just add a few minutes to the frying process since they’ll be very cold.
Wrapping Up
Fried ice cream is more than just a dessert; it’s an experience that brings joy and nostalgia in every bite. It’s perfect for celebrations or just for treating yourself after a long week. So gather your loved ones, roll up your sleeves, and let’s get cooking! Celebrate the beauty of homemade treats and the smiles they foster around the table. Enjoy this delightful creation, and may it spark laughter and sweet memories for years to come!


