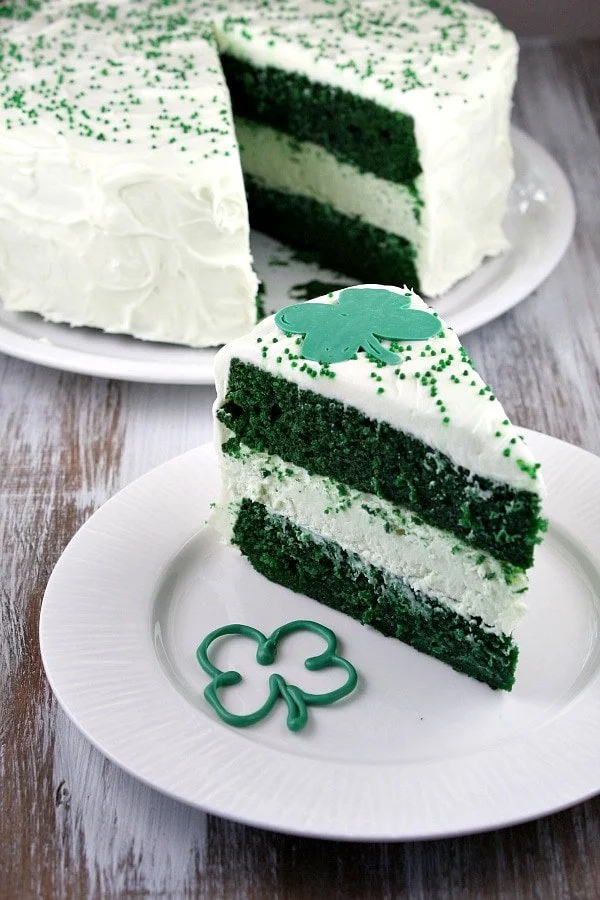
As I stood in my kitchen, the scent of vanilla mixed with the warm embrace of fresh-baked treats filling the air, I couldn’t help but feel a wave of nostalgia wash over me. A few years back, I was wandering through a local farmer’s market when a bright green cake caught my eye. The lush color reminded me of spring, of lush gardens bursting with life and joy. It sparked a memory of my grandmother, a culinary wizard whose cakes were the stuff of dreams. After a chat with the vendor, I decided to bring that vibrancy home, and thus began my love affair with Green Velvet Cake. A delightful twist on the classic red velvet, this bright beauty is not just a feast for the eyes; it’s a sweet invitation to gather and celebrate!
## Recipe Timing
- Prep Duration: 20 minutes
- Active Cooking: 30 minutes
- Total Duration: 50 minutes
- Portion Size: Serves about 12
- Complexity: Simple
## Nutritional Recipe
- Calories per portion: 450
- Protein: 5g
- Carbs: 56g
- Fats: 23g
- Fiber: 1g
- Sugars: 32g
- Sodium: 405mg
## Why You’ll Love This Green Velvet Cake
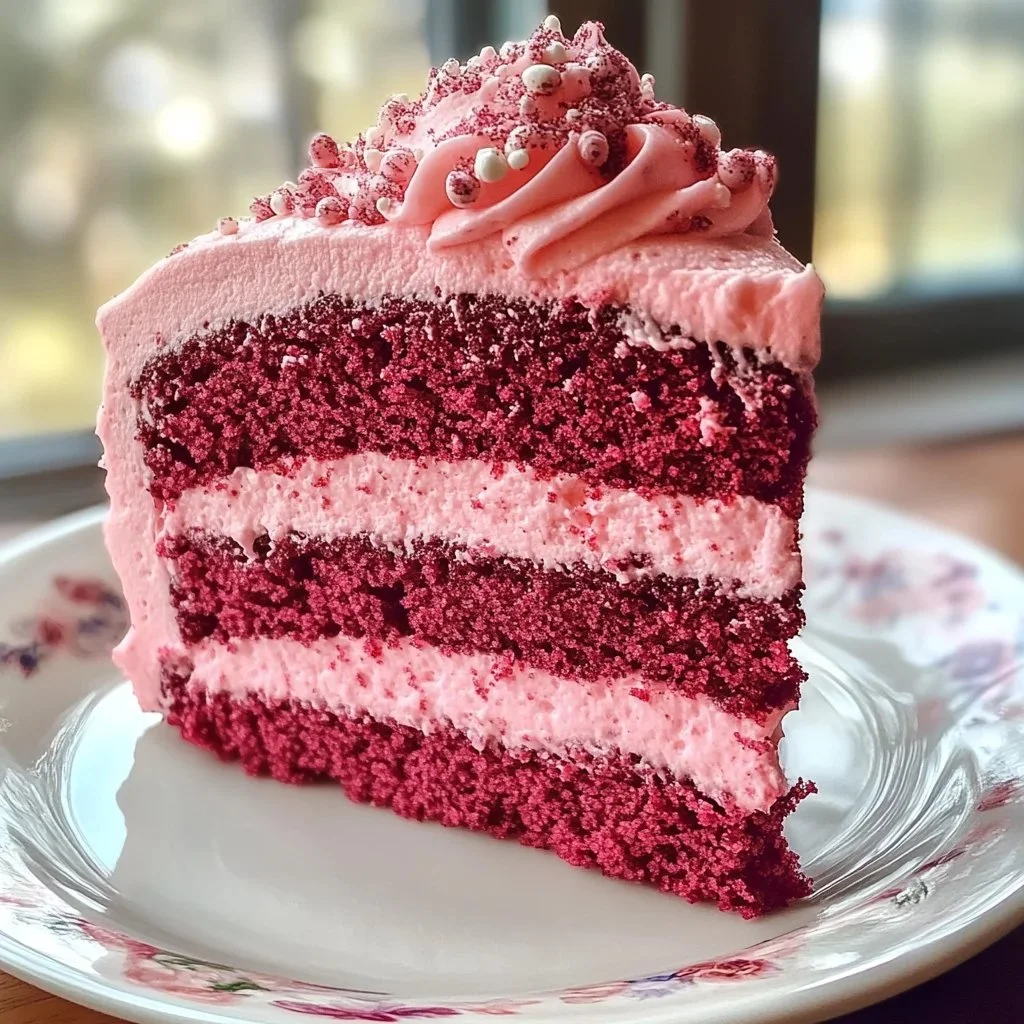
This Green Velvet Cake is more than just a cake; it’s an expression of creativity and charm. The smooth, velvety texture paired with a delightful hint of cocoa offers a unique flavor profile that sets it apart from any other dessert. And let’s not forget that stunning, vibrant green color that’s sure to make it the centerpiece of any gathering. Whether it’s a birthday, a holiday feast, or a casual afternoon with friends, this cake brings smiles and a few "oohs" and "aahs" to the table. Plus, the creamy frosting adds a luscious finish that makes each bite feel like a joyful surprise.
## The Complete Cooking Journey
Baking this cake is a delightful process that’s as enjoyable as eating the final product. It begins with gathering your bright ingredients and ends with the delicious moment you slice into that eye-catching cake. Imagine your kitchen filled with colors, textures, and the sweet anticipation of tasting your creation.
## Ingredients:
- 2 1/2 cups all-purpose flour
- 1 1/2 cups granulated sugar
- 1 teaspoon baking soda
- 1 teaspoon salt
- 1 teaspoon cocoa powder
- 1 1/2 cups vegetable oil
- 1 cup buttermilk, room temperature
- 3 large eggs, room temperature
- 1 tablespoon vanilla extract
- 1 tablespoon green food coloring
- 1 teaspoon white vinegar
## Method:
### Step 1: Preheat the Oven and Prepare Your Pans
First, preheat your oven to 350°F (175°C). While it warms up, grease and flour two 9-inch round cake pans to ensure a flawless release once your cakes are baked.
### Step 2: Combine Dry Ingredients
In a large bowl, mix together the flour, sugar, baking soda, salt, and cocoa powder. This blend gives your cake structure and just the right amount of sweetness with a whisper of chocolate.
### Step 3: Whisk Together Wet Ingredients
In another bowl, whisk together the vegetable oil, buttermilk, eggs, vanilla extract, green food coloring, and vinegar. This colorful mixture is what makes the cake so wonderfully moist and vibrant.
### Step 4: Mix Wet and Dry Ingredients
Now, combine the wet ingredients with the dry ingredients until smooth. The rich, green batter will be thick and velvety, enticing you with its beautiful hue.
### Step 5: Divide and Pour into Pans
Divide the batter evenly between the prepared cake pans. This ensures that your layers will bake evenly and look stunning when stacked.
### Step 6: Bake to Perfection
Bake in the preheated oven for about 25-30 minutes, or until a toothpick inserted into the center comes out clean. It’s always a bittersweet moment waiting for the cakes to rise, but the delightful aroma wafting through your kitchen will keep your spirits high.
### Step 7: Cool Before Frosting
After baking, let the cakes cool in the pans for about 10 minutes. Then, transfer them to wire racks to cool completely. Patience is key here; this will ensure your frosting doesn’t melt into a gooey mess.
### Step 8: Frost and Serve
Once cooled, frost with a generous layer of cream cheese frosting or your favorite frosting. The creamy topping contrasts beautifully with the green layers, making it a visual and flavorful masterpiece.
## Serving Suggestions & Pairings
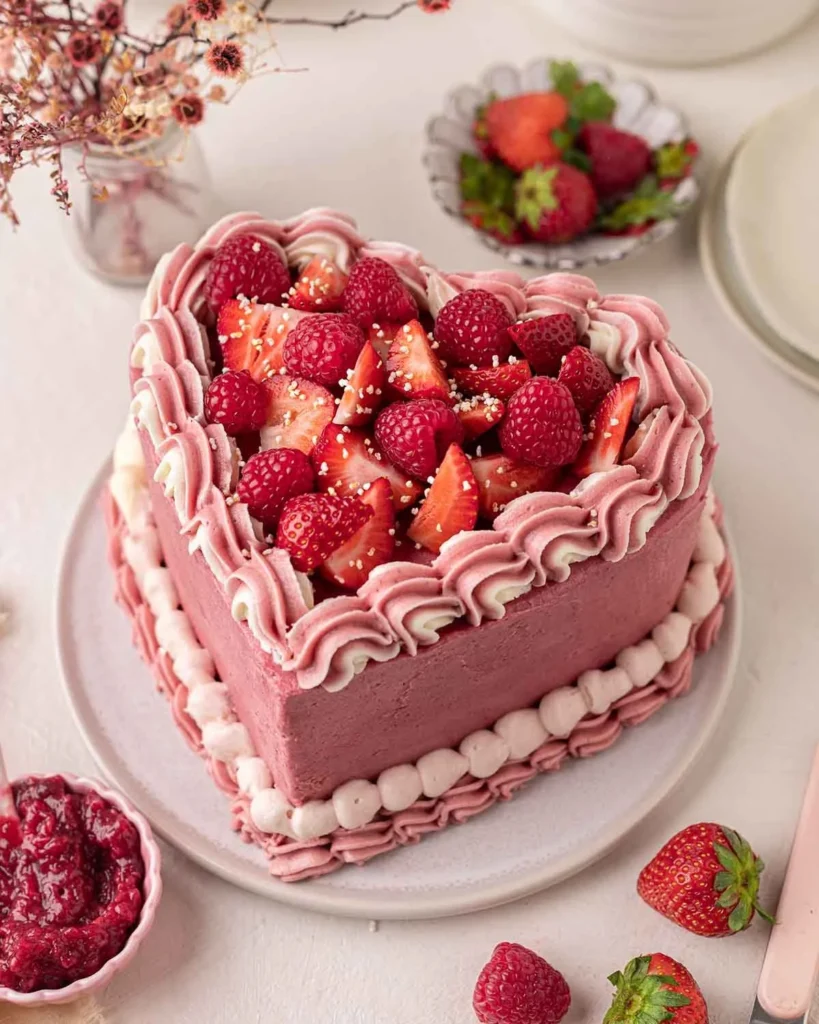
Enjoy this cake as the star of your dessert table, possibly served alongside fresh fruit like strawberries or raspberries, which add a delightful tartness that balances the sweetness. Pair it with a warm cup of coffee or a refreshing glass of lemonade to elevate your dessert experience.
## Storage & Leftovers Guide
Store leftover cake slices in an airtight container in the fridge for up to 5 days. If you want to keep it longer, freeze the unfrosted layers wrapped tightly in plastic wrap for up to 3 months. To serve after freezing, simply let it thaw in the fridge overnight and frost it fresh.
## Kitchen Wisdom & Success Tips
- Ensure your ingredients are at room temperature for the best results; this gives your cake a lovely, even texture.
- Don’t rush the cooling process; it’s vital for a beautifully layered cake.
- For an extra special touch, consider toasting nuts or coconut to sprinkle on top of your frosting.
## Flavor Variations & Adaptations
Want to get creative? Try adding a few drops of mint extract for a refreshing twist or swap the frosting for chocolate ganache for a more indulgent treat. You can also experiment with natural coloring methods by using pureed spinach or matcha for that stunning green without artificial additives.
## Reader Questions & Solutions
-
My cake sank in the middle; what went wrong?
- This could be due to underbaking or opening the oven door too soon. Make sure to let it bake fully and avoid peeking until it’s close to done.
-
Can I use a different type of oil?
- Absolutely! If you’re looking for healthier options, try switching to coconut oil or avocado oil for a twist.
-
What if I don’t have buttermilk?
- Mix one cup of milk with a tablespoon of lemon juice or vinegar, let it sit for 5 minutes, and you have homemade buttermilk!
-
Can I make this gluten-free?
- Yes, substitute all-purpose flour with a 1:1 gluten-free baking mix that contains xanthan gum.
-
How do I prevent my cake layers from sticking?
- Ensure you properly grease and flour your cake pans, which significantly helps in easy removal once baked.
## Wrapping Up
Baking is a journey filled with patience, joy, and a little sprinkle of love. Whether it’s a personal celebration or a gathering, this Green Velvet Cake brings everyone together to share sweet memories. So, roll up your sleeves, embrace the joy of cooking, and let the vibrant green of this cake inspire your culinary adventures! Get ready to impress your friends and family—each slice is not just a treat; it’s a story waiting to be shared! Happy baking!
PrintGreen Velvet Cake

A vibrant twist on the classic red velvet cake, this Green Velvet Cake is a delightful treat, perfect for any celebration.
- Prep Time: 20 minutes
- Cook Time: 30 minutes
- Total Time: 50 minutes
- Yield: 12 servings 1x
- Category: Dessert
- Method: Baking
- Cuisine: American
- Diet: Vegetarian
Ingredients
- 2 1/2 cups all-purpose flour
- 1 1/2 cups granulated sugar
- 1 teaspoon baking soda
- 1 teaspoon salt
- 1 teaspoon cocoa powder
- 1 1/2 cups vegetable oil
- 1 cup buttermilk, room temperature
- 3 large eggs, room temperature
- 1 tablespoon vanilla extract
- 1 tablespoon green food coloring
- 1 teaspoon white vinegar
Instructions
- Preheat the oven to 350°F (175°C) and prepare your pans by greasing and flouring two 9-inch round cake pans.
- Mix together flour, sugar, baking soda, salt, and cocoa powder in a large bowl.
- In another bowl, whisk together the vegetable oil, buttermilk, eggs, vanilla extract, green food coloring, and vinegar.
- Combine the wet ingredients with the dry ingredients until smooth.
- Divide the batter evenly between the prepared cake pans.
- Bake for 25-30 minutes, or until a toothpick comes out clean.
- Let the cakes cool in the pans for about 10 minutes, then transfer to wire racks to cool completely.
- Frost with cream cheese frosting or your favorite frosting once cooled.
Notes
For extra flavor, consider adding mint extract or swapping frosting for chocolate ganache.
Nutrition
- Serving Size: 1 slice
- Calories: 450
- Sugar: 32g
- Sodium: 405mg
- Fat: 23g
- Saturated Fat: 3g
- Unsaturated Fat: 5g
- Trans Fat: 0g
- Carbohydrates: 56g
- Fiber: 1g
- Protein: 5g
- Cholesterol: 120mg