
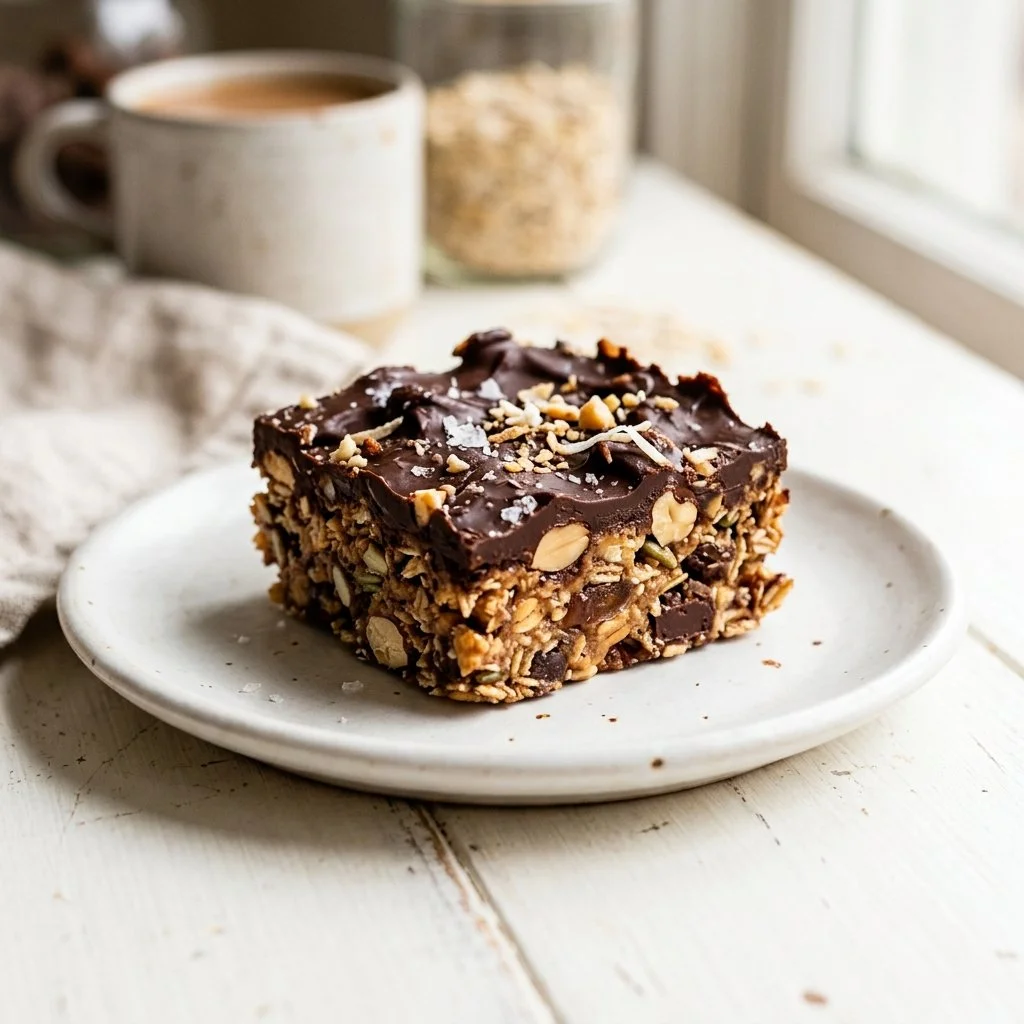
The moment I took my first bite of those delicious no bake bars, it was like a little party of flavors set off in my mouth. I still remember the day; my best friend and I were in her cozy kitchen, searching for a sweet treat that wouldn’t keep us pinned to the oven for hours. We were looking for something quick to whip up, filled with goodies, and satisfying enough to fulfill our late-night cravings while bingewatching our favorite shows. That’s when we discovered these easy no bake bars!
After that day, they became a staple in my home—a go-to recipe for movie nights, lunch box snacks, or even post-workout fuel. Who would have thought that a few simple ingredients could create such a delightful treat? These bars have a special place in my heart and my stomach, and I can’t wait for you to try them!
Recipe Timing
- Prep Duration: 10 minutes
- Active Cooking: 10 minutes
- Total Duration: 2 hours 10 minutes (mostly chilling time!)
- Portion Size: Makes about 12 bars
- Complexity: Simple
Nutritional Recipe
- Calories per portion: Approximately 150 calories
- Protein: 5 grams per serving
- Carbs: 20 grams per serving
- Fats: 7 grams per serving
- Fiber: 2 grams per serving
- Sugars: 8 grams per serving
- Sodium: 50 mg per serving
Why You’ll Love This No Bake Bars
These no bake bars are not just simple to make; they are a magical combination of textures and tastes. Creamy peanut butter, sweet honey, and rich chocolate chips meld together with hearty oats to create a satisfying treat that you can feel good about eating. Plus, they are no-bake, which means you can enjoy them without heating up your kitchen, making them perfect for warm summer days. The best part? You can easily customize them—swap out the peanut butter for almond butter, add dried fruits, or even throw in some spices. The possibilities are endless!
The Complete Cooking Journey
Embarking on the journey of whipping up these no bake bars is a delightful experience! You’ll start by getting those wholesome oats into a mixing bowl. Then, you will expertly combine them with creamy peanut butter and sticky honey. It feels like a warm hug, doesn’t it? Next, you’ll introduce rich chocolate chips and crunchy nuts, giving your bars a little extra love. Finally, you press the mixture into a dish, let it chill, and voilà—your sweet satisfaction is ready to be devoured!
Ingredients:
- 1 cup oats
- 1/2 cup peanut butter
- 1/3 cup honey
- 1/2 cup chocolate chips
- 1/4 cup chopped nuts or seeds (optional)
Method:
Step 1: Combine Oats, Peanut Butter, and Honey
In a mixing bowl, combine oats, peanut butter, and honey. Stir until fully mixed, making sure every oat is coated in that creamy, sticky goodness.
Step 2: Add Chocolate Chips and Nuts/Seeds
Next, add chocolate chips and optional nuts or seeds to the mixture. Mix well until everything is combined, and you can see all those delightful ingredients coming together.
Step 3: Press Mixture into Baking Dish
Get your lined baking dish and press the mixture evenly into it. Make sure to pack it tightly, giving the bars a sturdy base for when they are cut.
Step 4: Refrigerate Until Set
Now it’s time for a little patience! Refrigerate the mixture for at least 2 hours, allowing it to set well and firm up nicely.
Step 5: Cut into Bars and Enjoy!
Once set, take your bars out, cut them into squares or rectangles, and enjoy every last bite!
Serving Suggestions & Pairings
These bars are perfect on their own but can be even more delightful when paired with a refreshing cup of tea or a glass of almond milk. Craving something warm? Try crumbling them over yogurt or a scoop of ice cream for a delightful crunch!
Storage & Leftovers Guide
Store your no bake bars in an airtight container in the refrigerator, where they should last for up to a week. If you want to keep them longer, they freeze beautifully for up to three months. Just remember to separate layers with parchment paper!
Kitchen Wisdom & Success Tips
- Ensure you measure the ingredients accurately for the best texture.
- If your mixture seems too sticky, adding a touch more oats can help.
- Use a sharp knife to cut bars for clean edges!
Flavor Variations & Adaptations
Feeling adventurous? Here are a few variations to consider:
- Nut-Free: Swap the peanut butter for sunflower seed butter and omit the nuts.
- Chocolate Lovers: Use dark chocolate chips or add cacao nibs for extra chocolatey vibes.
- Fruity Twist: Incorporate dried fruits such as cranberries or apricots for a sweet, chewy texture.
Reader Questions & Solutions
-
Can I substitute honey with maple syrup?
- Absolutely! Maple syrup works just as well and gives it a unique flavor.
-
What can I use instead of peanut butter?
- Almond butter, sunbutter, or even cashew butter would be fantastic substitutes.
-
Why is my mixture too crumbly?
- It might be lacking moisture; try adding a little more honey or peanut butter.
-
How do I prevent bars from sticking to the dish?
- Lining your baking dish with parchment paper is key!
-
Can I make this recipe vegan?
- Yes! Use maple syrup instead of honey and ensure your chocolate is dairy-free.
Wrapping Up
These no bake bars are more than just a quick and easy recipe; they are a celebration of flavor and a treat to enjoy any day of the week. With just a handful of ingredients, you can whip up a snack that satisfies sweet cravings and fills your day with delicious energy. So roll up your sleeves, gather your ingredients, and embark on the delightful journey of making these bars. You won’t regret a single bite! Enjoy!


