
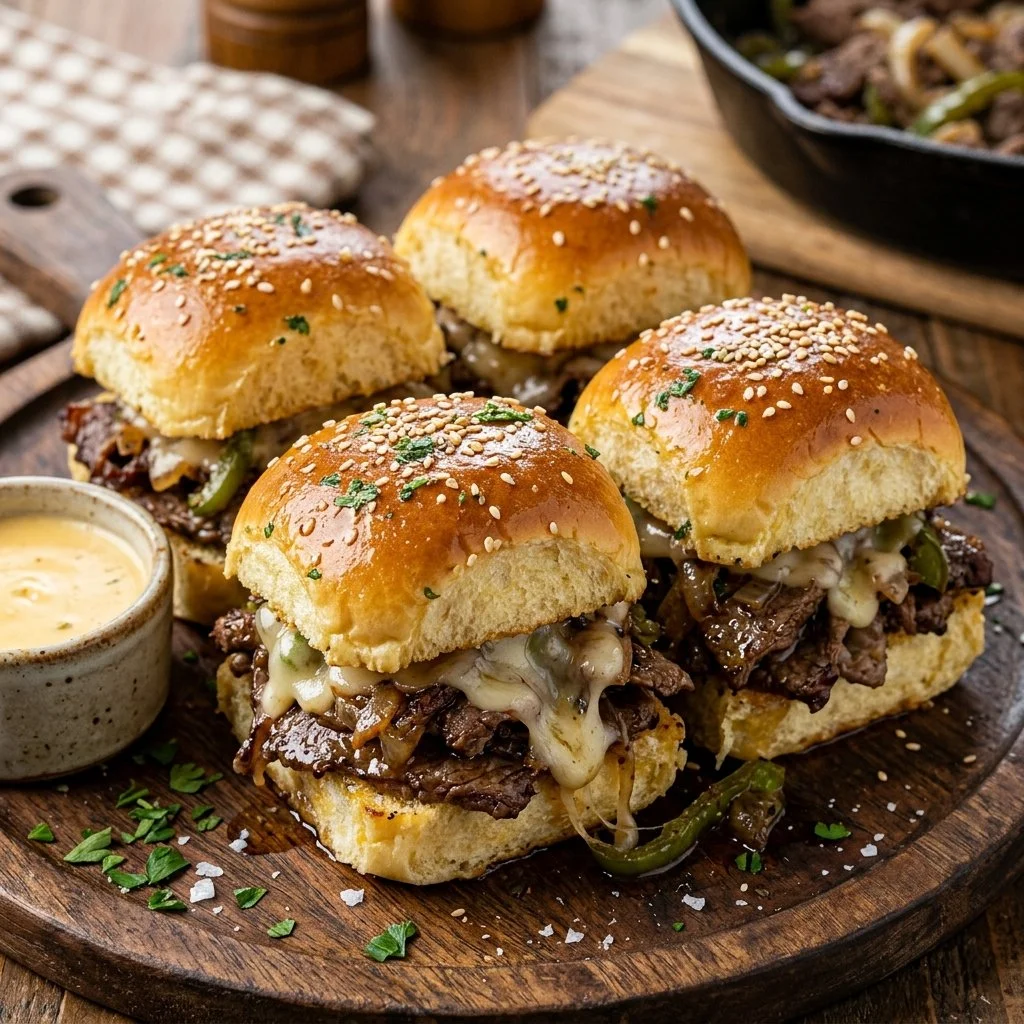
Every once in a while, you stumble upon a dish that feels like a hug on a plate. For me, that dish is undoubtedly the Philly cheesesteak sliders. Growing up, my family would often take weekend trips to the city of brotherly love, where we’d feast on authentic cheesesteaks served with gooey cheese and crispy peppers, all wrapped in warm rolls. The joy of those memories, combined with the savory aroma wafting through our kitchen as I made these sliders, brings a comforting nostalgia that’s hard to match. It’s food that’s steeped in tradition, and when you make these sliders at home, you’ll create your own cherished memories.
Recipe Timing
- Prep Duration: 10 minutes
- Active Cooking: 15 minutes
- Total Duration: 25 minutes
- Portion Size: 8 sliders
- Complexity: Simple
Nutritional Recipe
- Calories per portion: 280
- Protein: 15 grams per serving
- Carbs: 22 grams per serving
- Fats: 15 grams per serving
- Fiber: 1 gram per serving
- Sugars: 2 grams per serving
- Sodium: 600 mg per serving
Why You’ll Love This Philly Cheesesteak Sliders
Imagine biting into a warm, fluffy slider overflowing with tender beef, sweet caramelized onions, and vibrant bell peppers, all topped with rich, melted cheese! Not only do these sliders hit all the right flavor notes, but they’re also incredibly easy to assemble, making them perfect for weeknight dinners or game day gatherings. They’re easily shareable too, inviting your friends and family to dig in and enjoy together.
The Complete Cooking Journey
These sliders are the result of many joyful evenings, where laughter mixes with the sizzling sounds coming from my kitchen. Each step in this recipe is like a little dance, from the simple sauté of the onions and peppers to the triumphant moment when those buns emerge from the oven golden and gooey. It’s a recipe that encourages everyone to participate—whether it’s prepping ingredients or enjoying the finished product. Plus, the smell alone will have your family flocking to the kitchen, ready to devour their new favorite dish.
Ingredients:
- Slider rolls
- Sliced beef steak
- Onion, thinly sliced
- Bell pepper, thinly sliced
- Cheese (provolone or Cheez Whiz)
- Salt
- Pepper
- Olive oil
Method:
Step 1: Preheat Your Oven
Preheat the oven to 350°F (175°C). This is the first step in creating the warm, melty bliss that makes these sliders so irresistible.
Step 2: Sauté the Veggies
In a skillet, heat olive oil over medium heat and sauté onions and bell peppers until soft. This step adds that wonderful sweetness and depth to your filling.
Step 3: Cook the Beef
Add sliced beef to the skillet, season with salt and pepper, and cook until browned. This is where the magic truly begins—watch as the meat absorbs the sweet flavors of the sautéed veggies.
Step 4: Fill the Sliders
Split the slider rolls and fill each with the beef mixture, then top generously with cheese. Whether you choose provolone for a classic touch or Cheez Whiz for that gooey goodness, you can’t go wrong!
Step 5: Prepare to Bake
Place the filled sliders on a baking sheet and cover with foil. This helps lock in moisture and ensures each slider stays tender.
Step 6: Bake to Perfection
Bake for about 10 minutes or until cheese is melted. The anticipation builds as you can smell the delightful combination of flavors!
Step 7: Serve Warm
Serve these heavenly sliders warm, and watch as your friends and family dig into their new favorite treat.
Serving Suggestions & Pairings
Pair these sliders with a side of crispy fries, a fresh garden salad, or even some tangy coleslaw for a delightful balance of flavors. Don’t forget your favorite dipping sauces—they add an extra layer of fun to every bite!
Storage & Leftovers Guide
If you happen to have leftovers, store the sliders in an airtight container in the fridge for up to 3 days. To reheat, pop them back in the oven for a few minutes to restore that gooey goodness. You can also freeze the assembled, unbaked sliders and bake them straight from frozen; just add a few extra minutes to the baking time.
Kitchen Wisdom & Success Tips
- Slice the beef against the grain to ensure tenderness and easier chewing.
- For extra flavor, consider marinating the beef in your favorite steak sauce for 30 minutes before cooking.
- Make sure not to overcrowd the skillet when sautéing; this will help the veggies caramelize rather than steam.
Flavor Variations & Adaptations
Feel free to customize these sliders! You could add mushrooms for an earthy twist, jalapeños for heat, or even swap the beef for chicken or a plant-based alternative for a lighter version. The possibilities are endless!
Reader Questions & Solutions
- What type of beef works best? Thinly sliced ribeye is ideal, but sirloin or flank steak also works perfectly.
- Can I make these ahead of time? Yes! Assemble the sliders, cover them tightly, and refrigerate before baking.
- How can I add more flavor to the beef? Try adding garlic powder, Worcestershire sauce, or a dash of steak seasoning!
- What if my cheese isn’t melting? Make sure to cover the sliders with foil while baking to retain moisture, which helps the cheese melt properly.
- Can I use other types of cheese? Absolutely! Swiss, cheddar, or even a spicy pepper jack would be delicious.
Wrapping Up
These Philly cheesesteak sliders are more than just a meal; they’re a celebration of comfort food that brings people together. You can enjoy the delight of sizzling flavors and gooey cheese in every bite. So why not create some delicious memories today? Gather your ingredients and let’s make these sliders the star of your next gathering! Happy cooking!


