Nothing makes a morning more special than the warm aroma of freshly cooked waffles wafting through the house. As a child, weekends were synonymous with waffle day in our family—an adventure where we would gather around the kitchen, racing to see who could add the most toppings to our plates. The sizzle of the waffle iron and the gentle sound of batter transforming into golden, crispy goodness was music to my ears. The anticipation built with each tick of the clock, and my heart would flutter as I eagerly waited for that magical beep that signified the perfect waffle was ready. Today, I want to share a recipe that captures that same joy and nostalgia so you can create your own waffle memories at home.
Recipe Timing
- Prep Duration: 10 minutes
- Active Cooking: 20 minutes
- Total Duration: 30 minutes
- Portion Size: Serves 4
- Complexity: Simple
Nutritional Recipe
- Calories per portion: Approximately 300
- Protein: 9 grams
- Carbs: 37 grams
- Fats: 14 grams
- Fiber: 1 gram
- Sugars: 3 grams
- Sodium: 400 mg
Why You’ll Love This Waffle Recipe
These waffles are the perfect blend of crispy on the outside and fluffy on the inside. With a hint of vanilla and a touch of sweetness, they are versatile enough to suit any topping you can dream of, whether it’s fresh berries, maple syrup, or even a scoop of your favorite ice cream. But what truly sets this recipe apart is its simplicity—you’ll feel like a gourmet chef without spending hours in the kitchen.
The Complete Cooking Journey
Let’s dive into the delightful process of creating these heavenly waffles. The best part? You don’t need to be a kitchen whiz to impress your family or friends. Follow along as I guide you step by step.
Ingredients:
- 2 cups all-purpose flour
- 2 tablespoons sugar
- 1 tablespoon baking powder
- 1/2 teaspoon salt
- 2 large eggs
- 1 3/4 cups milk
- 1/2 cup vegetable oil
- 1 teaspoon vanilla extract
Method:
Step 1: Preheat the Waffle Iron
Start by preheating your trusty waffle iron. This step is crucial to ensure those delightful waffles cook evenly and achieve that golden crust we all love.
Step 2: Combine the Dry Ingredients
In a large mixing bowl, combine the flour, sugar, baking powder, and salt. Give it a good stir to mix everything well, as this creates the base for your buttery, fluffy waffles.
Step 3: Whisk the Wet Ingredients
In another bowl, crack those two large eggs and whisk them together with the milk, vegetable oil, and vanilla extract until harmonious. This fragrant mixture will add moisture and flavor to your waffles.
Step 4: Mix the Wet and Dry Ingredients
Pour the wet mixture into the bowl with the dry ingredients. Stir gently until just combined—don’t worry if there are a few lumps; this keeps your waffles light and airy.
Step 5: Grease the Waffle Iron
Lightly grease the preheated waffle iron with a little cooking spray or brush it with a dab of oil. This prevents sticking and ensures every waffle releases perfectly.
Step 6: Cook the Waffles
Pour the batter into the center of the waffle iron, using just enough to cover the surface without overflowing. Close the lid, and let them cook until they’re golden brown, about 5 minutes. The anticipation builds as you listen for the beep!
Step 7: Serve Warm with Toppings
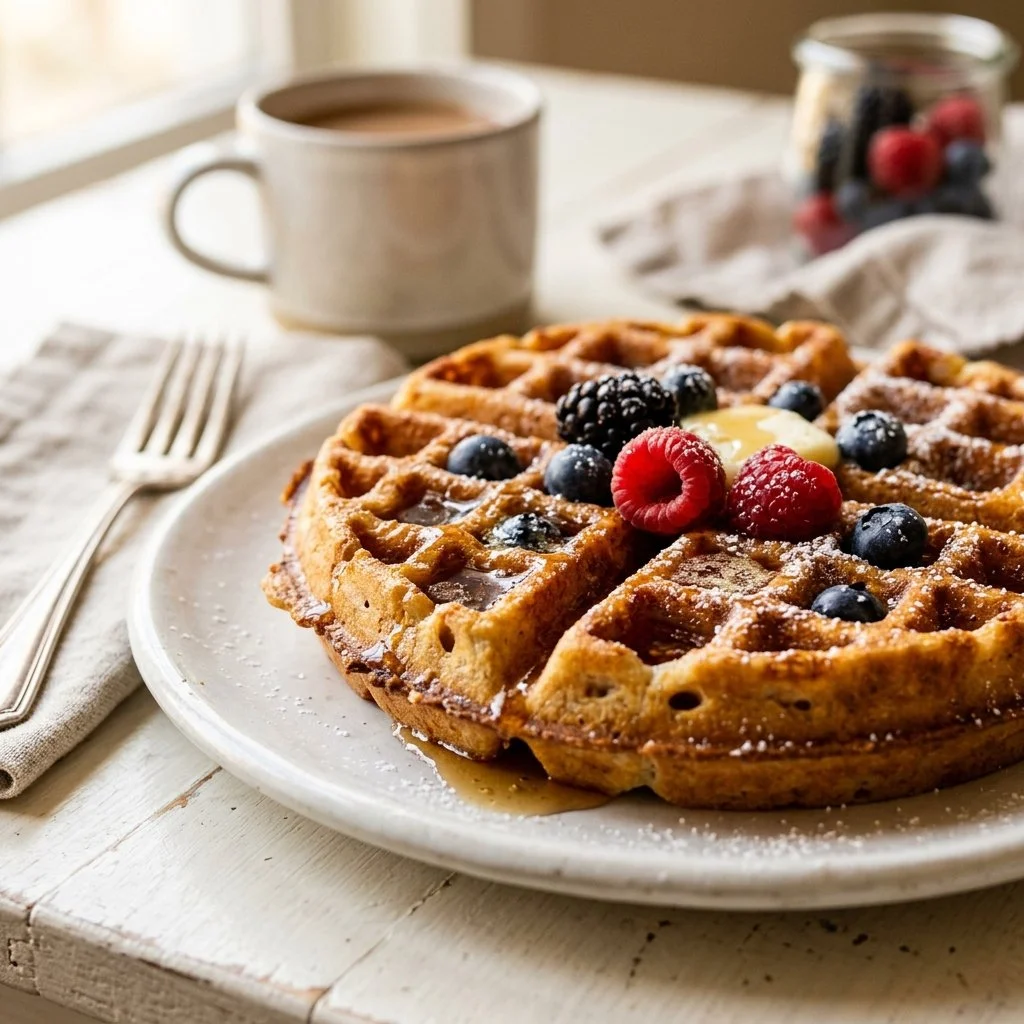
Open the waffle iron and gently remove your masterpiece. Serve them warm with your choice of toppings. Think fresh fruit, whipped cream, nuts, or a drizzle of maple syrup—let your creativity soar.
Serving Suggestions & Pairings
These waffles pair beautifully with a side of crispy bacon or fresh fruit salad for a well-rounded breakfast. For brunch, consider serving them alongside a light salad or yogurt parfait. And for dessert, why not stack them with a scoop of ice cream and a sprinkle of cinnamon? The choice is yours!
Storage & Leftovers Guide
If you happen to have leftovers (although I doubt it!), you can store the waffles in an airtight container in the refrigerator for up to 3 days. To reheat, pop them in the toaster for a few minutes to regain their crispiness, or warm them gently in the oven.
Kitchen Wisdom & Success Tips
- Don’t Overmix: Keep the batter slightly lumpy for airy waffles.
- Temperature Matters: Make sure your waffle iron is fully preheated for the best texture.
- Experiment with Flavors: Feel free to add cinnamon, cocoa powder, or even blueberry bits to the batter.
- Keep it Warm: If you’re making a large batch, place cooked waffles in a low oven (200°F) to keep them warm while you cook the others.
- Use Fresh Ingredients: Ensure your baking powder is fresh for the best rise.
Flavor Variations & Adaptations
Try adding chocolate chips or nuts to the batter for a different twist. For a healthier version, substitute half the all-purpose flour with whole wheat flour and decrease the sugar slightly. You can also make them dairy-free by using almond milk and coconut oil!
Reader Questions & Solutions
-
Why are my waffles soggy?
- Make sure you’re preheating the waffle iron adequately, and avoid opening it too soon while cooking.
-
Can I make the batter ahead of time?
- Yes! Just store the batter in the fridge, but it’ll need a good stir before using.
-
What toppings do you recommend?
- Fresh fruits like strawberries, blueberries, or even banana slices work wonderfully. Don’t forget whipped cream or yogurt to add that extra touch!
-
Can I freeze the waffles?
- Absolutely! Freeze them in a single layer, then place them in a ziplock bag for up to 3 months. Reheat directly from frozen.
-
What if I don’t have a waffle iron?
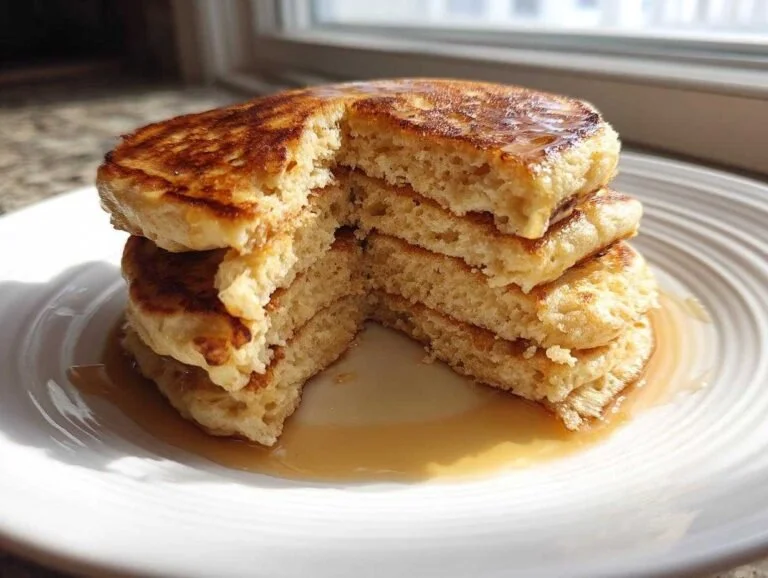
- You can use the batter to make pancakes instead! Just adjust the cooking time to a couple of minutes per side until golden and cooked through.
Wrapping Up
With each bite of these homemade waffles, you’ll be transported back to the joyful mornings of your childhood, surrounded by laughter and love. So grab your ingredients, fire up the waffle iron, and create your very own memories, one delicious waffle at a time. I can’t wait to hear how your waffle adventure turns out! Happy cooking!